Optimize connectivity to workspaces with Direct Workload Connection
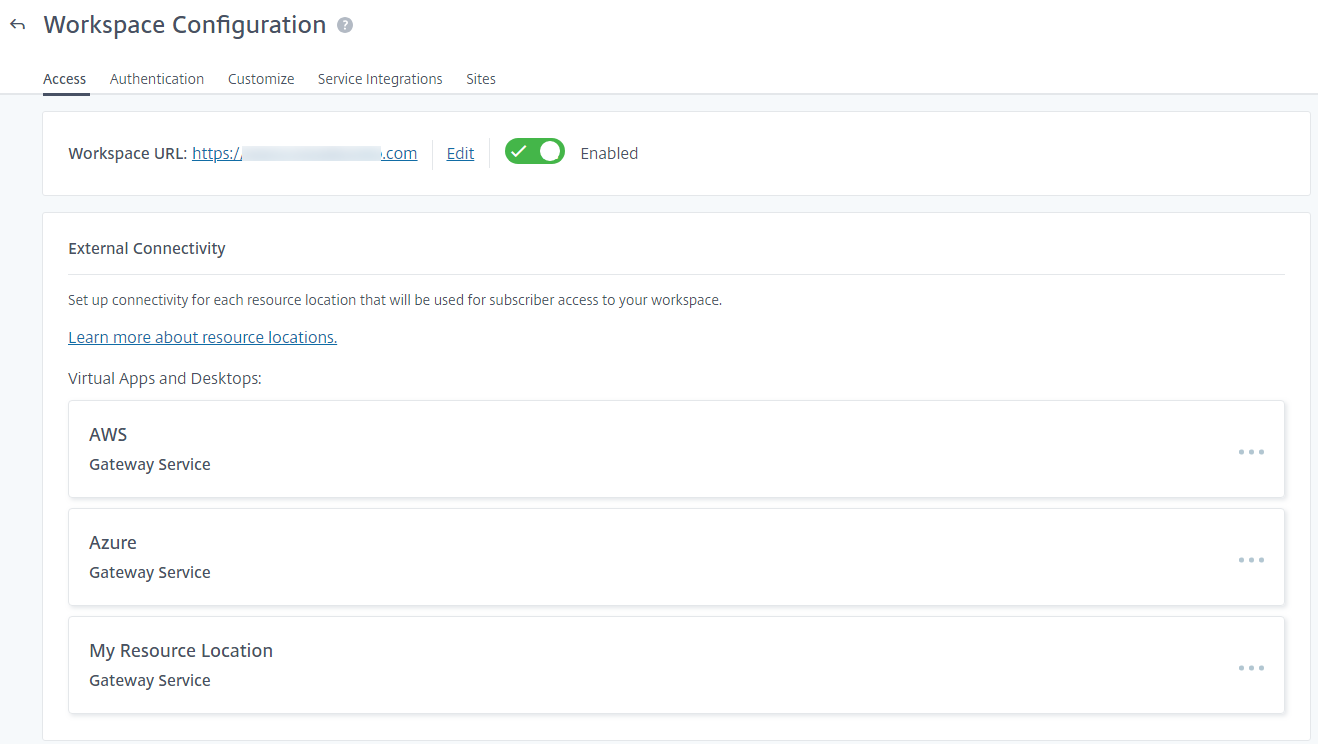
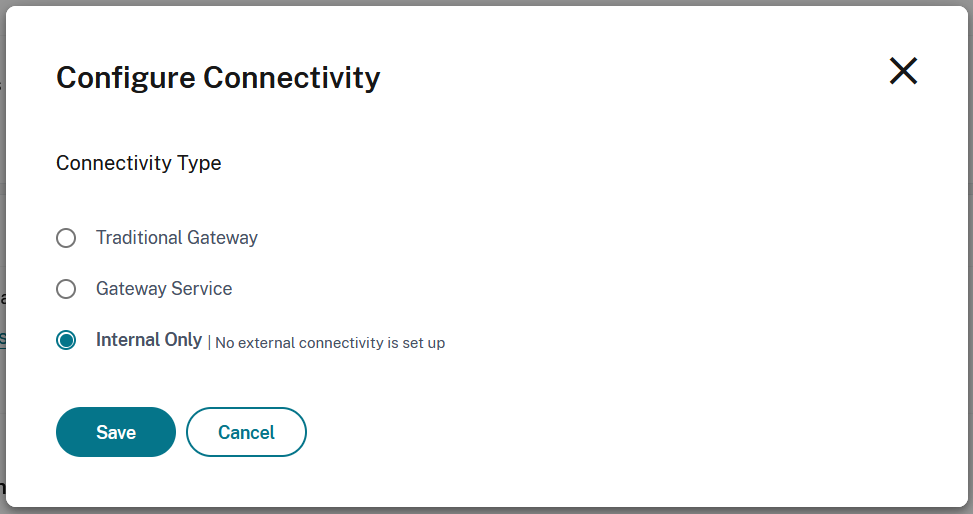
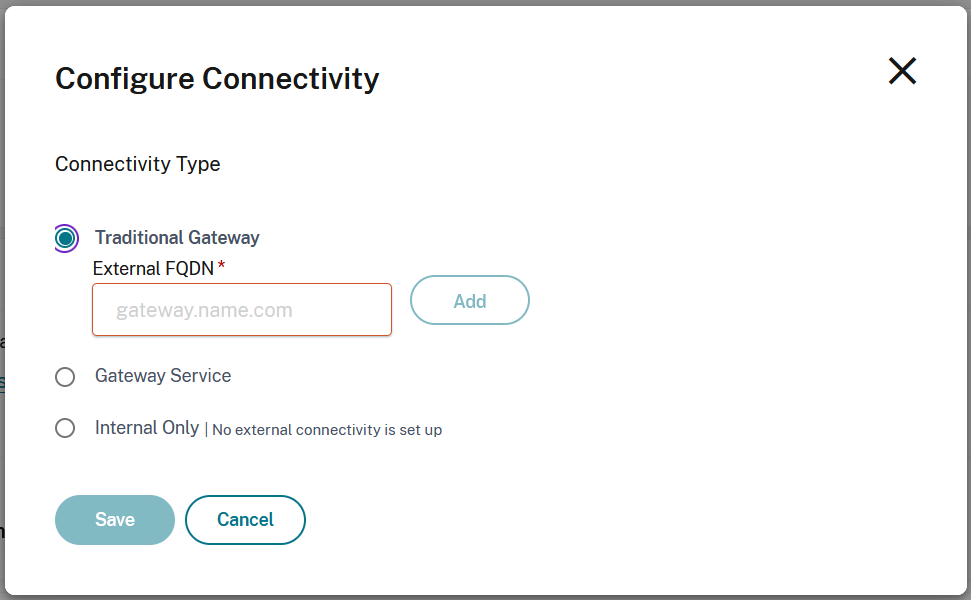
With Direct Workload Connection in Citrix Cloud, you can optimize internal traffic to the apps and desktops in workspaces to make HDX sessions faster. Ordinarily, users on both internal and external networks connect to VDAs through an external gateway. This gateway might be on-premises in your organization or provided as a service from Citrix and added to the resource location within Citrix Cloud. Direct Workload Connection allows internal users to bypass the gateway and connect to the VDAs directly, reducing latency for internal network traffic.
To set up Direct Workload Connection, you need network locations that correspond to where clients launch apps and desktops in your environment. Add a public address for each office location where these clients reside using the Network Location Service (NLS). You have two options for configuring network locations:
- Using the Network Locations menu option in Citrix Cloud.
- Using a PowerShell module that Citrix provides.
Network locations correspond to the public IP ranges of the networks that your internal users connect from, such as your office or branch locations. Citrix Cloud uses public IP addresses to determine whether the networks from which virtual apps or desktops launched are internal or external to the company network. If a subscriber connects from the internal network, Citrix Cloud routes the connection directly to the VDA, bypassing NetScaler Gateway. If a subscriber connects externally, Citrix Cloud routes them through NetScaler Gateway, then directs the session traffic through the Citrix Cloud Connector to the VDA in the internal network. If the Citrix Gateway service is used and the Rendezvous protocol is enabled, Citrix Cloud routes external users through the Gateway service to the VDA in the internal network. Roaming clients such as laptops might use either of these network routes, depending on whether the client is inside or outside the corporate network when the launch occurs.
Important:
If your environment includes Citrix DaaS Standard for Azure alongside on-premises VDAs, configuring Direct Workload Connection causes launches from the internal network to fail.
Remote Browser Isolation, Citrix Virtual Apps Essentials, and Citrix Virtual Desktops Essentials resource launches always route through the gateway. These launches don’t gain performance improvements from configuring Direct Workload Connection.
Requirements
Network requirements
- Corporate network and guest Wi-Fi networks must have separate public IP addresses. If your corporate and guest networks share public IP addresses, users on the guest network can’t launch DaaS sessions.
- Use the public IP address ranges of the networks that your internal users connect from. Internal users on these networks must have a direct connection to the VDAs. Otherwise, launches of virtual resources fail as Workspace tries to route internal users directly to the VDA, which isn’t possible.
- Although VDAs are typically located within your on-premises network, you can also use VDAs hosted within a public cloud such as Microsoft Azure. Client launches must have a network route to contact the VDAs without being blocked by a firewall. This requires a VPN tunnel from your on-premises network to a virtual network where the VDAs reside.
TLS requirements
TLS 1.2 must be enabled in PowerShell when configuring your network locations. To force PowerShell to use TLS 1.2, use the following command before using the PowerShell module:
[Net.ServicePointManager]::SecurityProtocol = [Net.SecurityProtocolType]::Tls12
Workspace requirements
- You have a workspace configured in Citrix Cloud.
- Citrix DaaS is enabled in Workspace Configuration > Service Integrations.
Enable TLS for Workspace app for HTML5 connections
If your subscribers use Citrix Workspace app for HTML5 to launch apps and desktops, Citrix recommends that you have TLS configured on the VDAs in your internal network. Configuring your VDAs to use TLS connections ensures direct launches to VDAs are possible. If VDAs don’t have TLS enabled, app and desktop launches must be routed through a gateway when subscribers use Citrix Workspace app for HTML5. Launches using the Desktop Viewer aren’t affected. For more information about securing direct VDA connections with TLS, see CTX134123 in the Citrix Support Knowledge Center.
Add network locations through the GUI
Direct Workload Connection configuration through Citrix Cloud involves creating network locations using the public IP address ranges of each branch location that your internal users connect from.
-
In the Citrix Cloud console, navigate to Network Locations.
-
Click Add network location.
-
Enter a network location name and public IP address range for the location.
-
Click Save.
-
Repeat these steps for each new network location that you want to add.
Note:
Location tags are not required for Direct Workload Connection because the connectivity type is always Internal. The Location tags field in the Add a Network Location page (Citrix Cloud > Network Locations > Add a Network Location > Location tags) is only visible if the Adaptive Access feature is enabled. For details, see Enable the Adaptive Access feature.
Modify or remove network locations
- In the Citrix Cloud console, navigate to Network Locations from the main menu.
-
Locate the network location that you want to manage and click the ellipses button.
- Select one of the following commands:
- Select Edit to modify the network location. After making changes, click Save.
- Select Delete to remove the network location. Select Yes, delete to confirm the deletion. You can’t undo this action.
Add and modify network locations with PowerShell
Instead of using the Citrix Cloud management console interface, you can use a PowerShell script to configure Direct Workload Connection. Direct Workload Connection configuration with PowerShell involves the following tasks:
- Determine the public IP address ranges of each branch location that your internal users connect from.
- Download the PowerShell module.
- Create a secure API client in Citrix Cloud and make a note of the Client ID and secret.
- Import the PowerShell module and connect to the Network Location Service (NLS) with your API client details.
- Create NLS sites for each of your branch locations with the public IP address ranges that you previously determined. Direct Workload Connection is automatically enabled for any launches that come from the internal network locations you’ve specified.
- Launch an app or desktop from a device on your internal network and verify that the connection goes directly to the VDA, bypassing the Gateway. For more information, see ICA file logging in this article.
Download the PowerShell module
Before you set up your network locations, download the Citrix-provided PowerShell module (nls.psm1) from the Citrix GitHub repository. Using this module, you can set up as many network locations as needed for your VDAs.
- In a web browser, go to https://github.com/citrix/sample-scripts/blob/master/workspace/NLS2.psm1.
- Press ALT while clicking the Raw button.
- Select a location on your computer and click Save.
Required configuration details
To set up your network locations, you need the following required information:
- Citrix Cloud secure client customer ID, client ID, and client secret. To obtain these values, see Create a secure client in this article.
- Public IP address ranges for the networks where your internal users are connecting from. For more information about these public IP address ranges, see Requirements in this article.
Create a secure client
- Sign in to Citrix Cloud at
https://citrix.cloud.com
. - From the Citrix Cloud menu, select Identity and Access Management and then select API Access.
-
On the Secure Clients tab, note your customer ID.
- Enter a name for the client and then select Create Client.
-
Copy the client ID and client secret.
Configure network locations
- Open a PowerShell command window and navigate to the same directory where you saved the PowerShell module.
- Import the module:
Import-Module .\nls.psm1 -Force
- Set the required variables with your secure client information from Create a secure client:
$clientId = "YourSecureClientID"
$customer = "YourCustomerID"
$clientSecret = "YourSecureClientSecret"
-
Connect to the Network Location Service with your secure client credentials:
Connect-NLS -clientId $clientId -clientSecret $clientSecret -customer $customer
-
Create a network location, replacing the parameter values with the values that correspond to the internal network where your internal users are directly connecting from:
New-NLSSite -name "YourSiteName" -tags @("YourTags") -ipv4Ranges @("PublicIpsOfYourNetworkSites") -longitude 12.3456 -latitude 12.3456 -internal $True
To specify a single IP address instead of a range, add /32 to the end of the IP address. For example:
New-NLSSite -name "YourSiteName" -tags @("YourTags") -ipv4Ranges @("PublicIpOfYourNetworkSite/32") -longitude 12.3456 -latitude 12.3456 -internal $True
Important:
When using the
New-NLSSite
command, include at least one value for each parameter. If you run this command without any command-line arguments, PowerShell prompts you to enter the appropriate values for each parameter, one at a time. Theinternal
property is a mandatory Boolean property with possible values:$True
or$False
that maps to the UI via PowerShell. For example,(UI) Network Internal -> (PowerShell) –internal=$True
.When the network location is created successfully, the command window displays the details of the network location.
- Repeat Step 5 for all your network locations where users are connecting from.
- Run the command
Get-NLSSite
to return a list of all the sites you’ve configured with NLS and verify that their details are correct.
Modify network locations
To change an existing network location:
- From a PowerShell command window, list all existing network locations:
Get-NLSSite
-
To modify the IP range for a specific network location, type
(Get-NLSSite)[N] | Set-NLSSite -ipv4Ranges @("1.2.3.4/32","4.3.2.1/32")
where
[N]
is the number corresponding to the location in the list (starting with zero) and"1.2.3.4/32","4.3.2.1/32"
are the comma-separated IP ranges you want to use. For example, to modify the first listed location, you type the following command:(Get-NLSSite)[0] | Set-NLSSite -ipv4Ranges @("98.0.0.1/32","141.43.0.0/24")
Remove network locations
To remove network locations that you no longer want to use:
- From a PowerShell command window, list all existing network locations:
Get-NLSSite
- To remove all network locations, type
Get-NLSSite | Remove-NLSSite
- To remove specific network locations, type
(Get-NLSSite)[N] | Remove-NLSSite
, where[N]
is the number corresponding to the location in the list. For example, to remove the first listed location, you type(Get-NLSSite)[0] | Remove-NLSSite
.
Verify that internal launches are routed correctly
To verify that internal launches are accessing VDAs directly, use one of the following methods:
- View VDA connections through the DaaS console.
- Use ICA file logging to verify the correct addressing of the client connection.
Citrix DaaS console
Select Manage > Monitor and then search for a user with an active session. In the Session Details section of the console, direct VDA connections display as UDP connections while gateway connections display as TCP connections.
If you don’t see UDP on the DaaS Console then you must enable the HDX Adaptive Transport Policy for the VDAs.
ICA file logging
Enable ICA file logging on the client computer as described in To enable logging of the launch.ica file. After launching sessions, examine the Address and SSLProxyHost entries in the log file.
Direct VDA connections
For direct VDA connections, the Address property contains the VDA’s IP address and port.
Here’s an example of an ICA file when a client launches an application using the NLS:
[Notepad++ Cloud]
Address=;10.0.1.54:1494
SSLEnable=Off
<!--NeedCopy-->
The SSLProxyHost property isn’t present in this file. This property is included only for launches through a gateway.
Gateway connections
For gateway connections, the Address property contains the Citrix Cloud STA ticket, the SSLEnable property is set to On, and the SSLProxyHost property contains the gateway’s FQDN and port.
Here’s an example of an ICA file when a client has a connection through the Citrix Gateway service and launches an application:
[PowerShell ISE Cloud]
Address=;40;CWSSTA;027C02199068B33889A40C819A85CBB4
SSLEnable=On
SSLProxyHost=global.g.nssvcstaging.net:443
<!--NeedCopy-->
Here’s an example of an ICA file when a client has a connection through an on-premises gateway and launches an application using an on-premises gateway that is configured within the resource location:
[PowerShell ISE Cloud]
Address=;40;CWSSTA;027C02199068B33889A40C819A85CBB5
SSLEnable=On
SSLProxyHost=onpremgateway.domain.com:443
<!--NeedCopy-->
Note:
On-premises gateway virtual servers that are used to launch virtual apps and desktops must be VPN virtual servers, not nFactor authentication virtual servers. The nFactor authentication virtual servers are for user authentication only and don’t proxy resource HDX and ICA launch traffic.
Example script
The example script includes all commands that you might need to add, modify, and remove the public IP address ranges for your branch locations. However, you don’t need to run all commands to perform any single function. For the script to run, always include the first 10 lines, from Import-Module through Connect-NLS. Afterward, you can include only the commands for the functions you want to perform.
Import-Module .\nls.psm1 -Force
$clientId = "XXXX" #Replace with your clientId
$clientSecret = "YYY" #Replace with your clientSecret
$customer = "CCCCCC" #Replace with your customerid
# Connect to Network Location Service
Connect-NLS -clientId $clientId -clientSecret $clientSecret -customer $customer
# Create a new Network Location Service Site (Replace with details corresponding to your branch locations)
New-NLSSite -name "New York" -tags @("EastCoast") -ipv4Ranges @("1.2.3.0/24") -longitude 40.7128 -latitude -74.0060 -internal $True
# Get the existing Network Location Service Sites (optional)
Get-NLSSite
# Update the IP Address ranges of your first Network Location Service Site (optional)
$s = (Get-NLSSite)[0]
$s.ipv4Ranges = @("1.2.3.4/32","4.3.2.1/32")
\$s | Set-NLSSite
# Remove all Network Location Service Sites (optional)
Get-NLSSite | Remove-NLSSite
# Remove your third site (optional)
\(Get-NLSSite)\[2] | Remove-NLSSite
Troubleshooting
VDA launch failures
If VDA sessions are failing to launch, verify you’re using public IP address ranges from the correct network. When configuring your network locations, you must use the public IP address ranges of the network where your internal users are connecting from to reach the Internet. For more information, see Requirements in this article.
Internal VDA launches still routed through the gateway
If VDA sessions launched internally are still being routed through the gateway as if they were external sessions, verify you’re using the correct public IP address that your internal users are connecting from to reach their workspace. The public IP address listed in the NLS site must correspond to the address that the client launching the resources uses to access the Internet. To obtain the correct public IP address for the client, log on to the client machine, visit a search engine, and enter “what is my ip” in the search bar.
All clients that launch resources within the same office location typically access the Internet using the same network egress public IP address. These clients must have an internet network route to the subnets where the VDAs reside, which isn’t blocked by a firewall. For more information, see Requirements in this article.
Errors when running PowerShell cmdlets on non-Windows platforms
If you experience errors when running cmdlets with the correct parameters on PowerShell Core, verify that the operation was carried out successfully. For example, if you experience errors when running the New-NLSSite cmdlet, run Get-NLSSite
to verify that the site was created. Running these cmdlets on macOS or Linux platforms using PowerShell Core can result in an error even though the operation ran successfully.
If you experience this issue when running cmdlets with the correct parameters on a Windows platform using PowerShell, ensure you’re using the latest version of the PowerShell module. With the latest version of the PowerShell module, this issue does not occur on Windows platforms.
Additional help and support
For troubleshooting help or questions, contact your Citrix sales representative or Citrix Support.