Manage plug-ins using Global App Configuration service
Overview
With Global App Configuration service, you can configure installation and update settings for plug-ins from a centralized platform. These plug-ins must be built either by Citrix or its partners. The Global App Configuration service UI provides admins a centralized platform to distribute plug-ins across managed and personal devices.
Note:
Plug-in installation or upgrade is supported on the following Citrix Workspace™ app versions:
- Citrix Workspace app for Windows 2212 (Current Release) or later
- Citrix Workspace app for Windows 2402 (LTSR)
- Citrix Workspace app for Mac 2409 or later
If your store is GACS configured and end users have already added it to their Citrix Workspace app, any change in the plug-in setting is reflected as per the duration specified here. This means that after you publish your changes, it might take a few hours for the settings to be updated on the client side, depending on the platform.
After the configuration has been fetched on the client side, the Citrix Auto-Update service installs the plug-in as per your Delay Group settings or within 24 hours, whichever is sooner.
Note:
End users can manually update to the latest version of the plug-ins using the Check for updates option in their system tray. This overrides any delay group settings. However, this option also updates the Citrix Workspace app, either to the latest version or to the version specified by the admins.
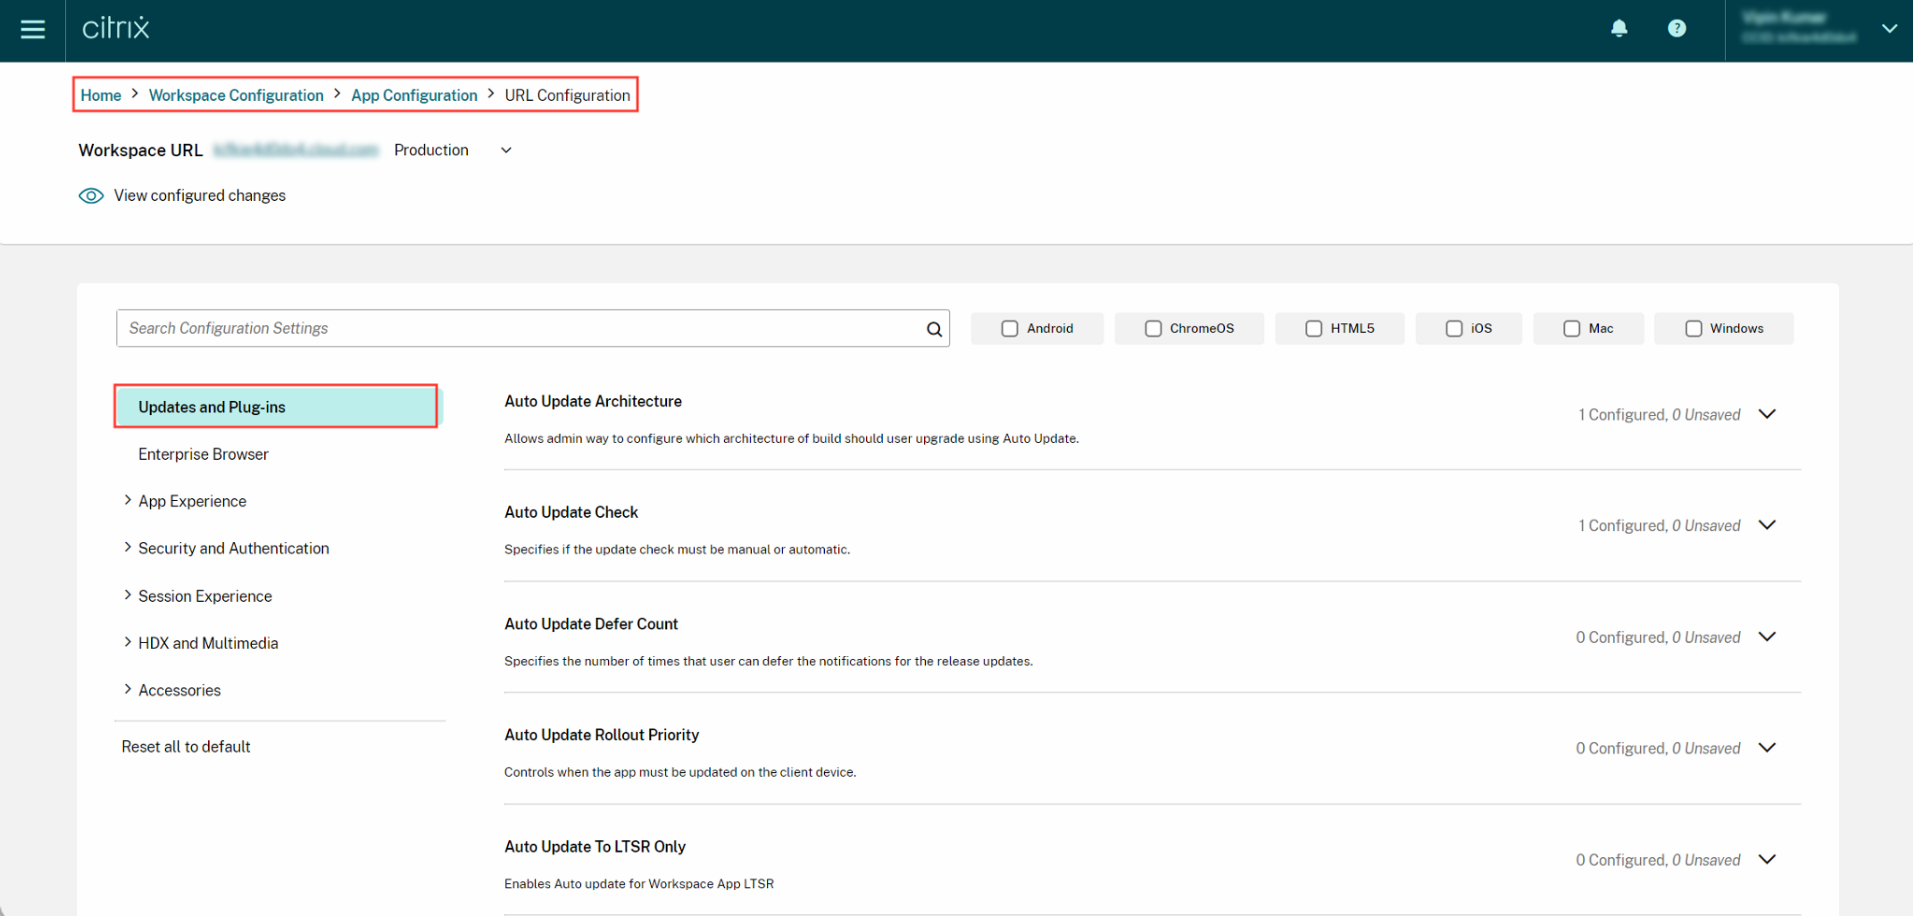
Supported plug-ins can be found under the Updates and plug-ins section on the GACS UI.
Citrix Endpoint Analysis Plug-in
This setting helps you install and update the Citrix Endpoint Analysis plug-in to the latest version for your end users.
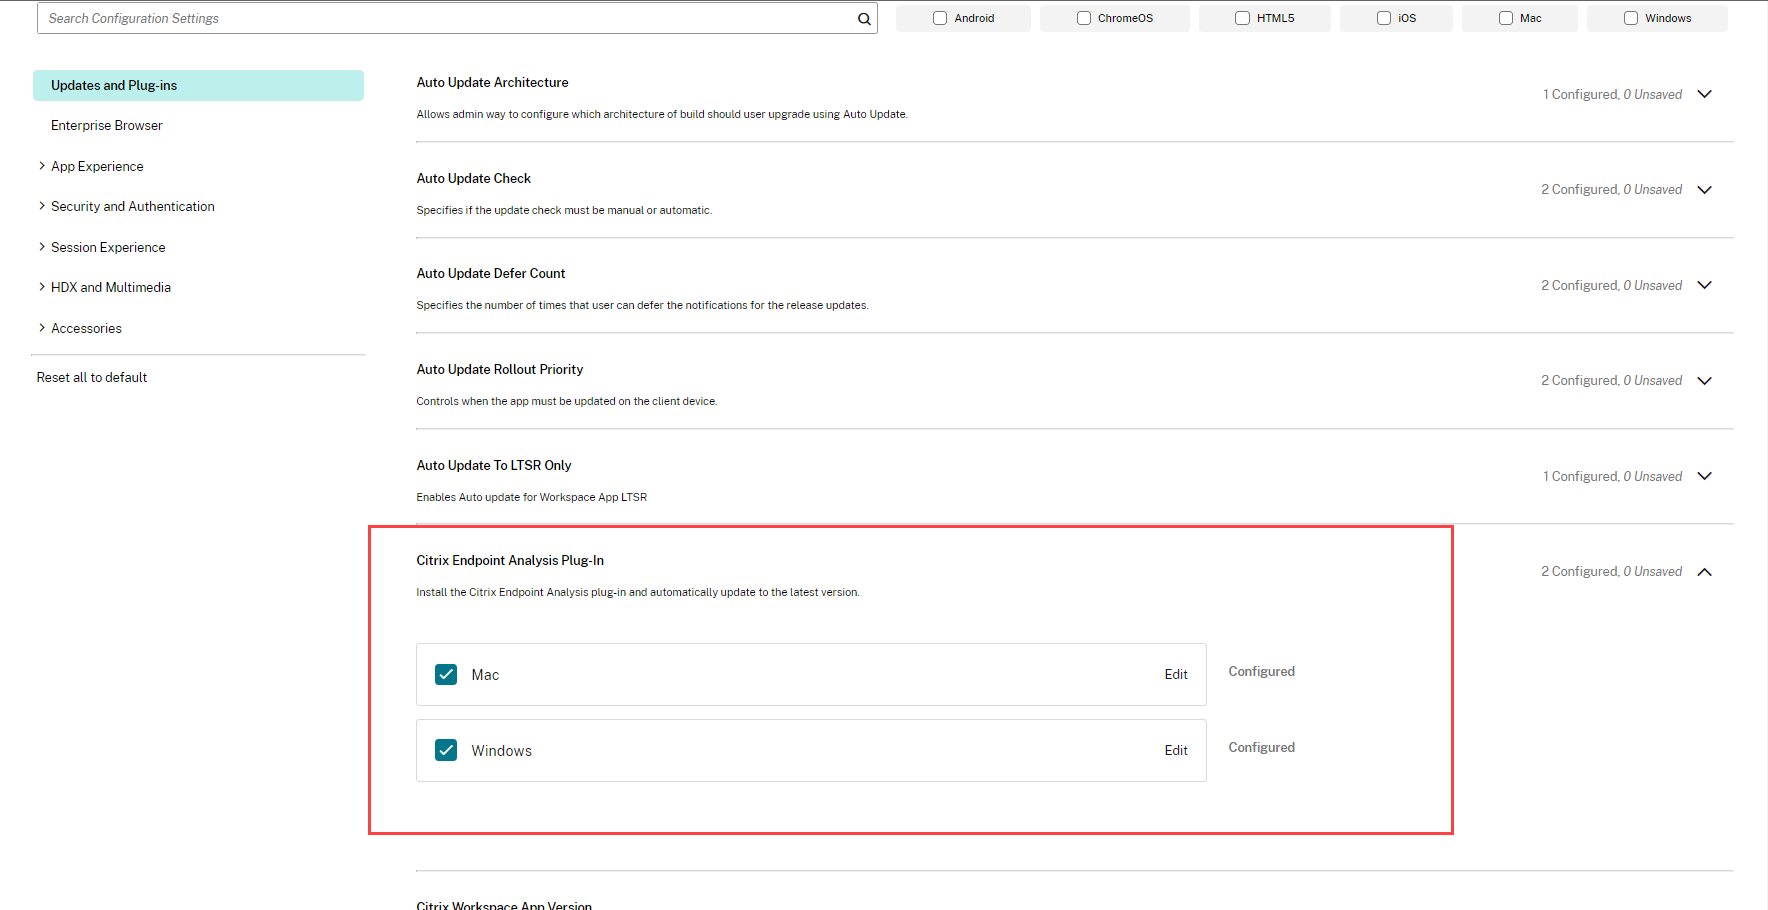
The Citrix Endpoint Analysis plug-in enables you to run device-posture checks on end-user devices. Citrix Device Posture service is a cloud-based solution that helps admins to enforce certain requirements that the end devices must meet to gain access to Citrix DaaS (virtual apps and desktops) or Citrix Secure Private Access™ resources (SaaS, Web apps, TCP, and UDP apps).
You can configure your plug-in settings as described in the Deployment mode settings section.
Note:
This plug-in is available only on Windows and Mac platforms.
For more information, see Manage Citrix Endpoint Analysis client for Device Posture service.
Citrix Secure Access™ Agent
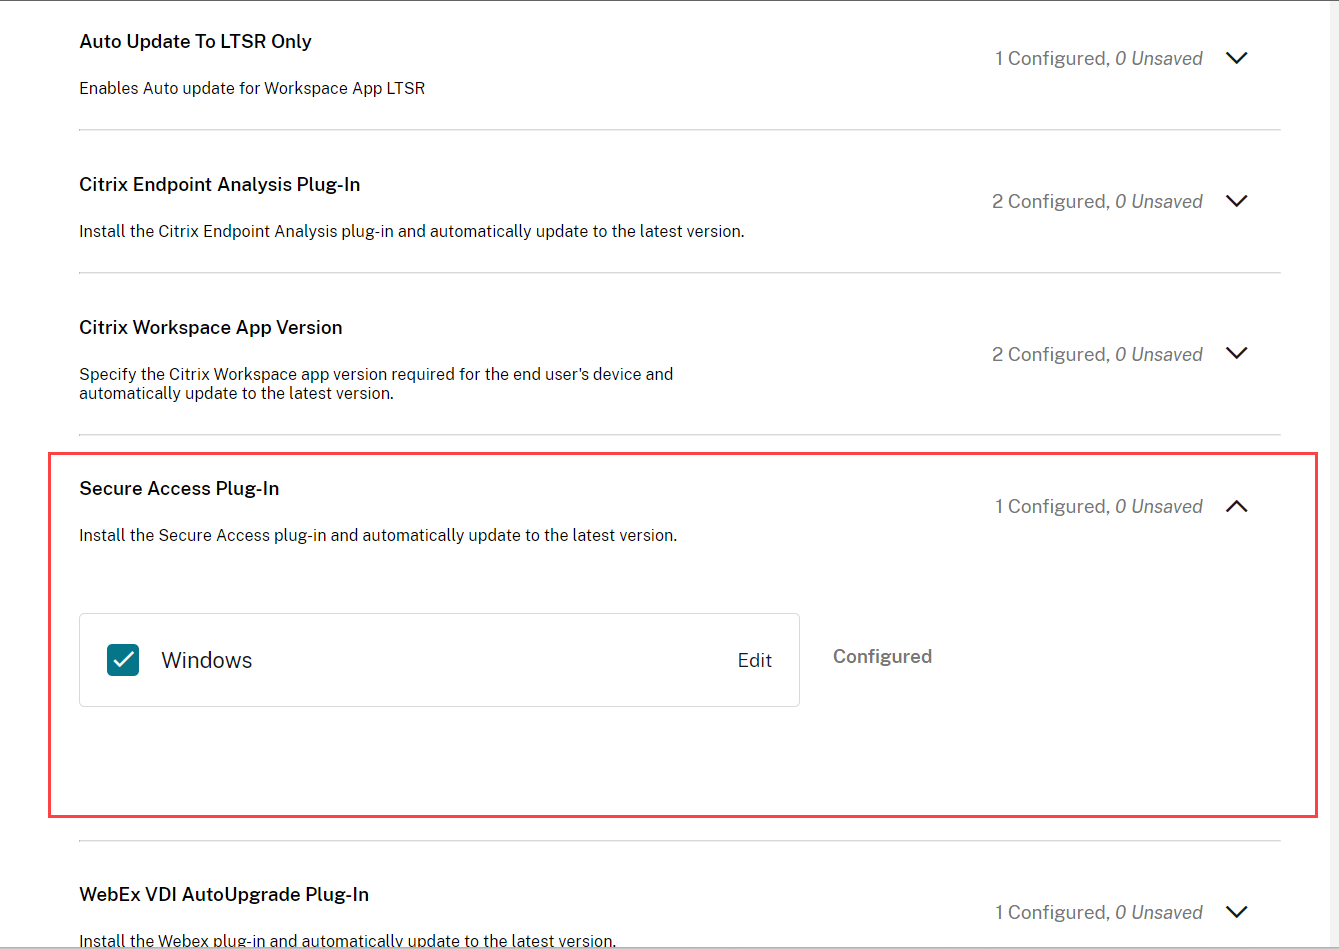
End users can easily access all their sanctioned private apps by installing the Citrix Secure Access agent on their client devices.
With the additional support of client-server apps within Citrix Secure Private Access, you can now eliminate the dependency on a traditional VPN solution to provide access to all private apps for remote users.
You can configure your plug-in settings as described in the Deployment mode settings section.
Webex VDI AutoUpgrade Plug-in
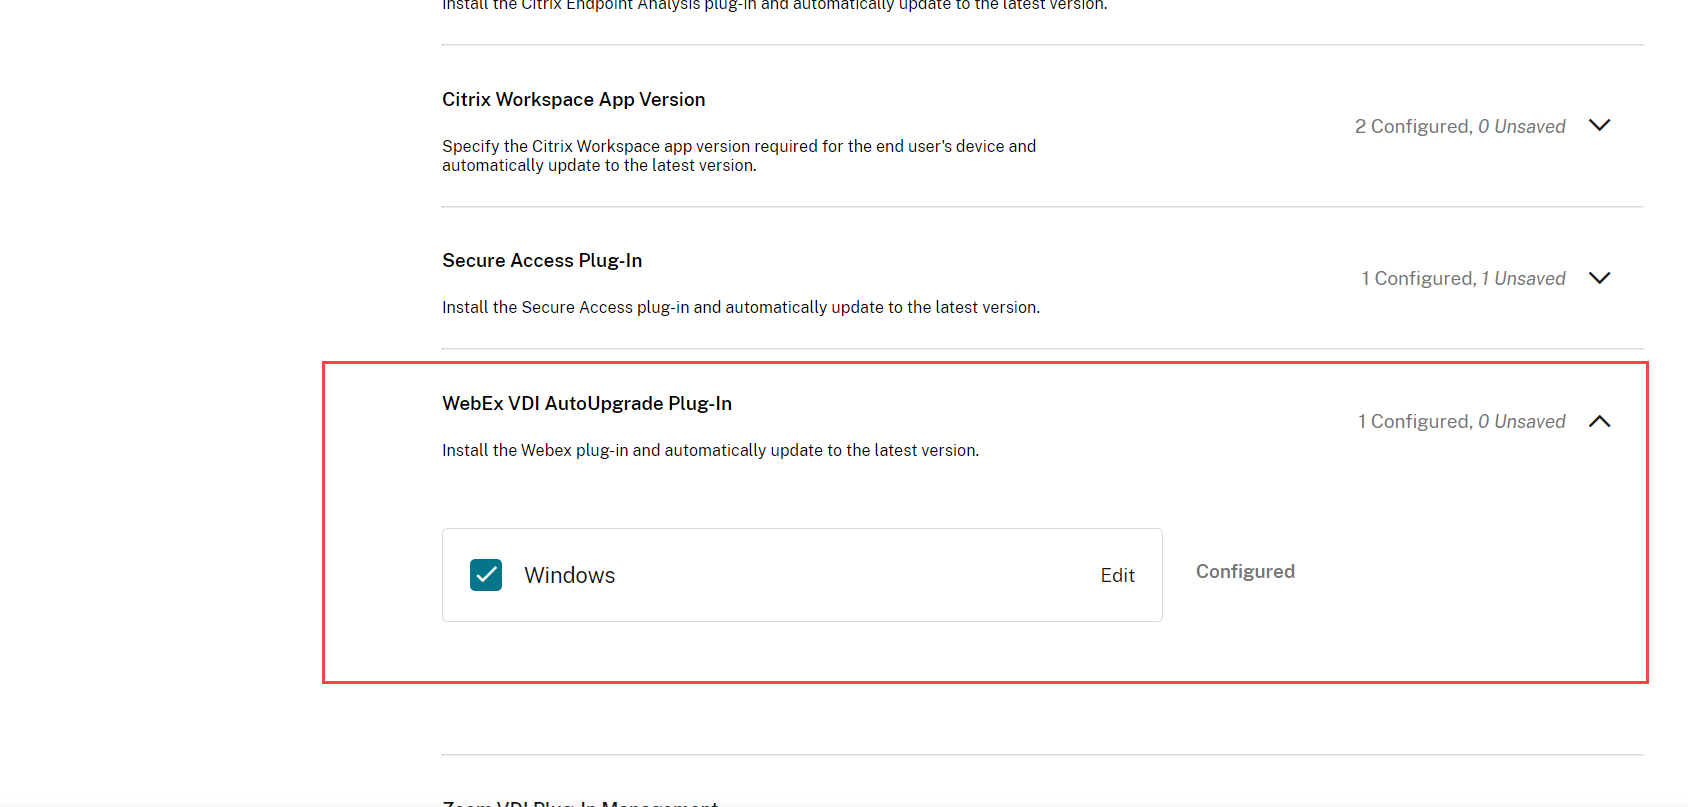
The Webex App VDI solution optimizes the audio and video for calls and meetings. With GACS, you can manage the Webex VDI Plug-in manager. The Webex VDI Plug-in manager, in turn, installs and manages the Webex plug-in installed on the end-user’s device.
Note:
This plug-in is available only on the Windows platform.
The Webex VDI plug-in installer engine is installed during the regular auto update of the Citrix Workspace app or when you check for updates manually.
Important:
Citrix only manages the installation and update of the Webex VDI Plug-in manager. The Webex plug-in that is installed on the end-user’s device is managed by Webex itself.
Configure plug-in settings
Before proceeding, you must ensure that you’ve completed the steps listed in the Prerequisites section below. You can then configure your plug-in settings as described in the Deployment mode section.
Prerequisites
The following steps must be followed for configuring the Virtual Channel:
- Either disable or configure the Virtual Channel List policy on the Broker to allow Webex to use the VC as documented here.
- Enable Autoupgrade for the VDI plug-in on the Virtual Desktop where the Webex App for VDI is installed using the following registry key
HKEY_LOCAL_MACHINE\SOFTWARE\Cisco Spark Native, set AutoUpgradeVDIPluginEnabled=1
You can now sign in to your Citrix Cloud™ account and configure your plug-in settings as described in the Deployment mode settings section.
Webex VDI plug-in compatibility with Webex app
Once the configuration is done, a refresh option appears in the menu on the Webex app running in the VDI. Click the refresh option, the Webex app closes and the Webex VDI plug-in is installed on the user’s endpoint.
The Webex VDI plug-in does not appear in the list of programs on Windows even after installation. To check if the plug-in is installed, you can run a Health Check on the Webex app running in the VDI. Check the VDI section to verify if the plug-in is installed. You can also verify if the plug-in version is compatible with the Webex app version.
The Webex VDI Plug-in manager automatically installs the latest Webex plug-in version which is compatible with the end user’s Webex app. For more information on compatible versions, refer to Webex Version support.
If the versions don’t match, check if you’ve disabled the Compatibility check on the VDI using the steps below:
- Go to
HKEY_LOCAL_MACHINE\Software\Cisco Spark Native\. - Create a DWORD (32-bit) registry key named
VDIDisableCompatibilityVersionCheckand give it one of these values:
        -   0— enables the version compatibility check (default)
        -   1— disables the version compatibility check
<!--NeedCopy-->
Zoom VDI Plug-in Management
With GACS, you can manage the Zoom VDI Plug-in manager. The Zoom VDI Plug-in manager, in turn, installs and manages the Zoom plug-in installed on the end-user’s device.
Important:
Citrix only manages the installation and update of the Zoom VDI Plug-in manager. The Zoom plug-in that is installed on the end-user’s device is managed by Zoom itself.
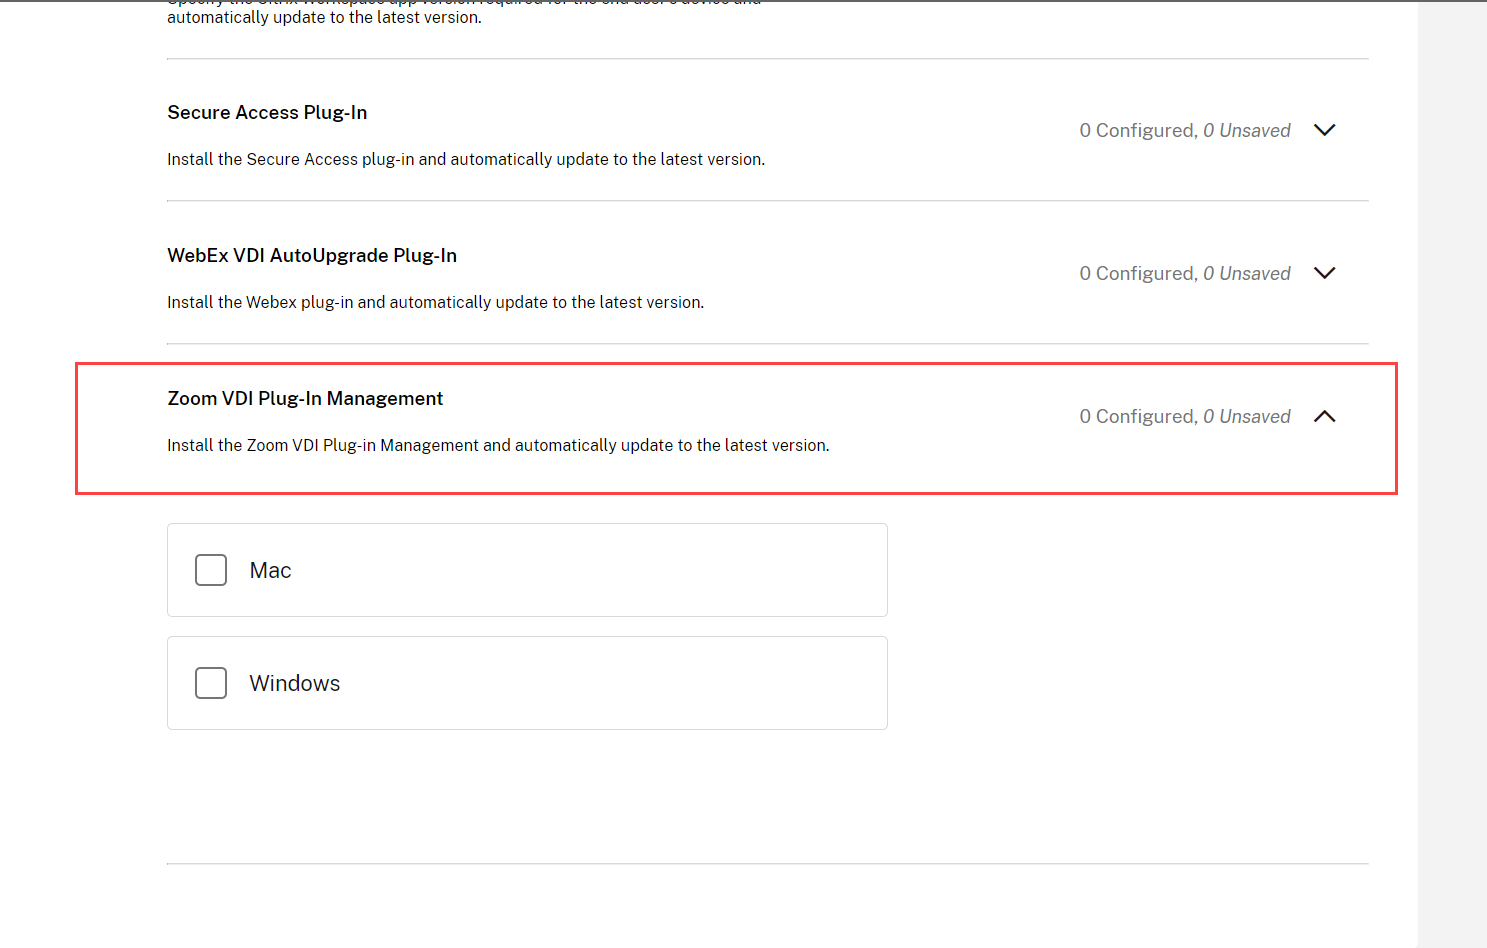
Configure plug-in settings
Before proceeding, you must ensure that you’ve completed the steps listed in the Prerequisites section below. You can then configure your plug-in settings as described in the Deployment mode settings section.
Prerequisites
The following steps must be followed for configuring the Virtual Channel:
- Either disable or configure the Virtual Channel List policy on the Broker to allow Zoom to use the Virtual Channel as documented here.
- Enable the virtual desktop for Zoom VDI plug-in Management with registry key as documented here.
You can configure your plug-in settings as described in the Deployment mode settings section.
Once the configurations are done, open the Zoom app and keep it running on the VDI. The user should see a pop up (prompt) after sometime (once the Zoom VDI plug-in installer is downloaded on the user’s endpoint) letting them know that the session will be disconnected to install the VDI plugin on the endpoint. Upon clicking OK, Zoom would close the Citrix Session and proceed to install the plug-in on the user’s endpoint.
Microsoft Teams VDI Plug-in Management
The Microsoft Teams VDI Plug-in Manager optimizes the audio and video for calls and meetings. With Global App Configuration service, you can manage the installation of Microsoft Teams Plug-in Manager. This Plug-in Manager, in turn, installs and manages the Microsoft Teams Optimization plug-in (VDI 2.0 or Slimcore engine) on the end-user’s device.
Configure plug-in settings
Before proceeding, you must ensure that you’ve completed the steps listed in the following Prerequisites section.
Prerequisites
Administrators are required to configure a new registry setting in the VDA to enable the new Microsoft Teams to access the Citrix virtual channel. For more information, see the Note given in Optimization for Microsoft Teams. This registry setting is not required if you’re using CVAD 2402 LTSR and above (or) 2203 LTSR CU5 and above.
You can now sign in to your Citrix Cloud account and configure your plug-in settings as described in the Deployment mode settings section.
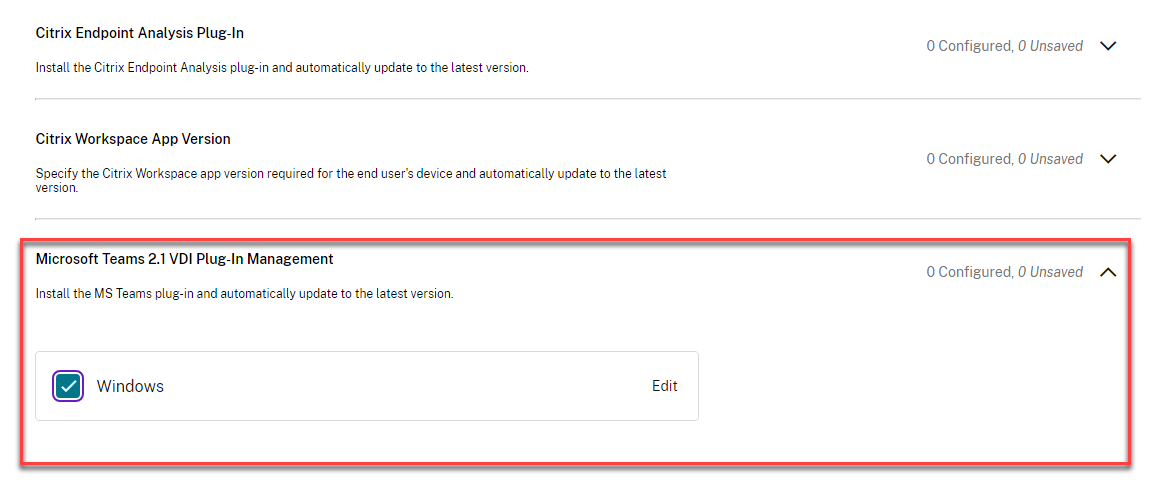
For more information, see New VDI solution for Teams.
Note:
- Reconnect the session after the successful installation of the plug-in on the end-user device. After that, Microsoft Teams VDI app needs to be restarted twice to enter VDI 2.0 mode.
- This plug-in is available only on the Windows platform, and it is applicable starting with Citrix Workspace app for Windows version 2405.
- This plug-in is only applicable to New Teams (Teams 2.x) and not Classic Teams.
ControlUp’s RemoteDX Plug-in Management
ControlUp’s RemoteDX is a monitoring and troubleshooting solution designed to improve the end-user experience for remote workers. The key features include Endpoint Monitoring, Network Insights, Session Visibility, and Proactive Alerts. With Global App Configuration service, you can manage the ControlUp’s RemoteDX Plug-in manager.
Important:
Citrix only manages the installation and update of the RemoteDX Plug-in manager. ControlUp directly manages the RemoteDx plug-in installed on the end-user’s device. Telemetry data collection by the RemoteDX plug-in from an end-user’s device, if any, is also managed by ControlUp.
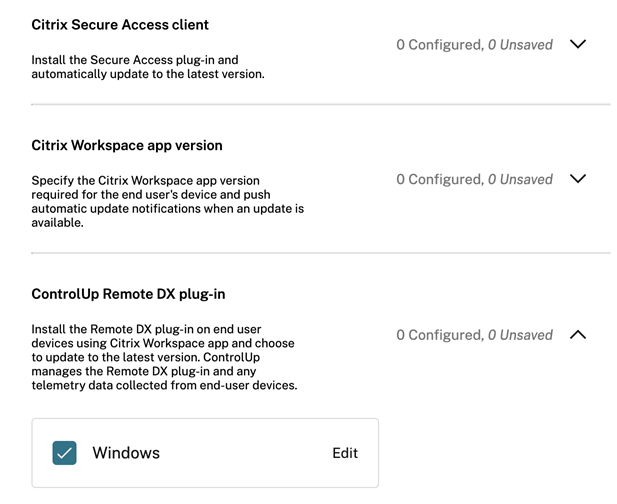
Deployment mode settings
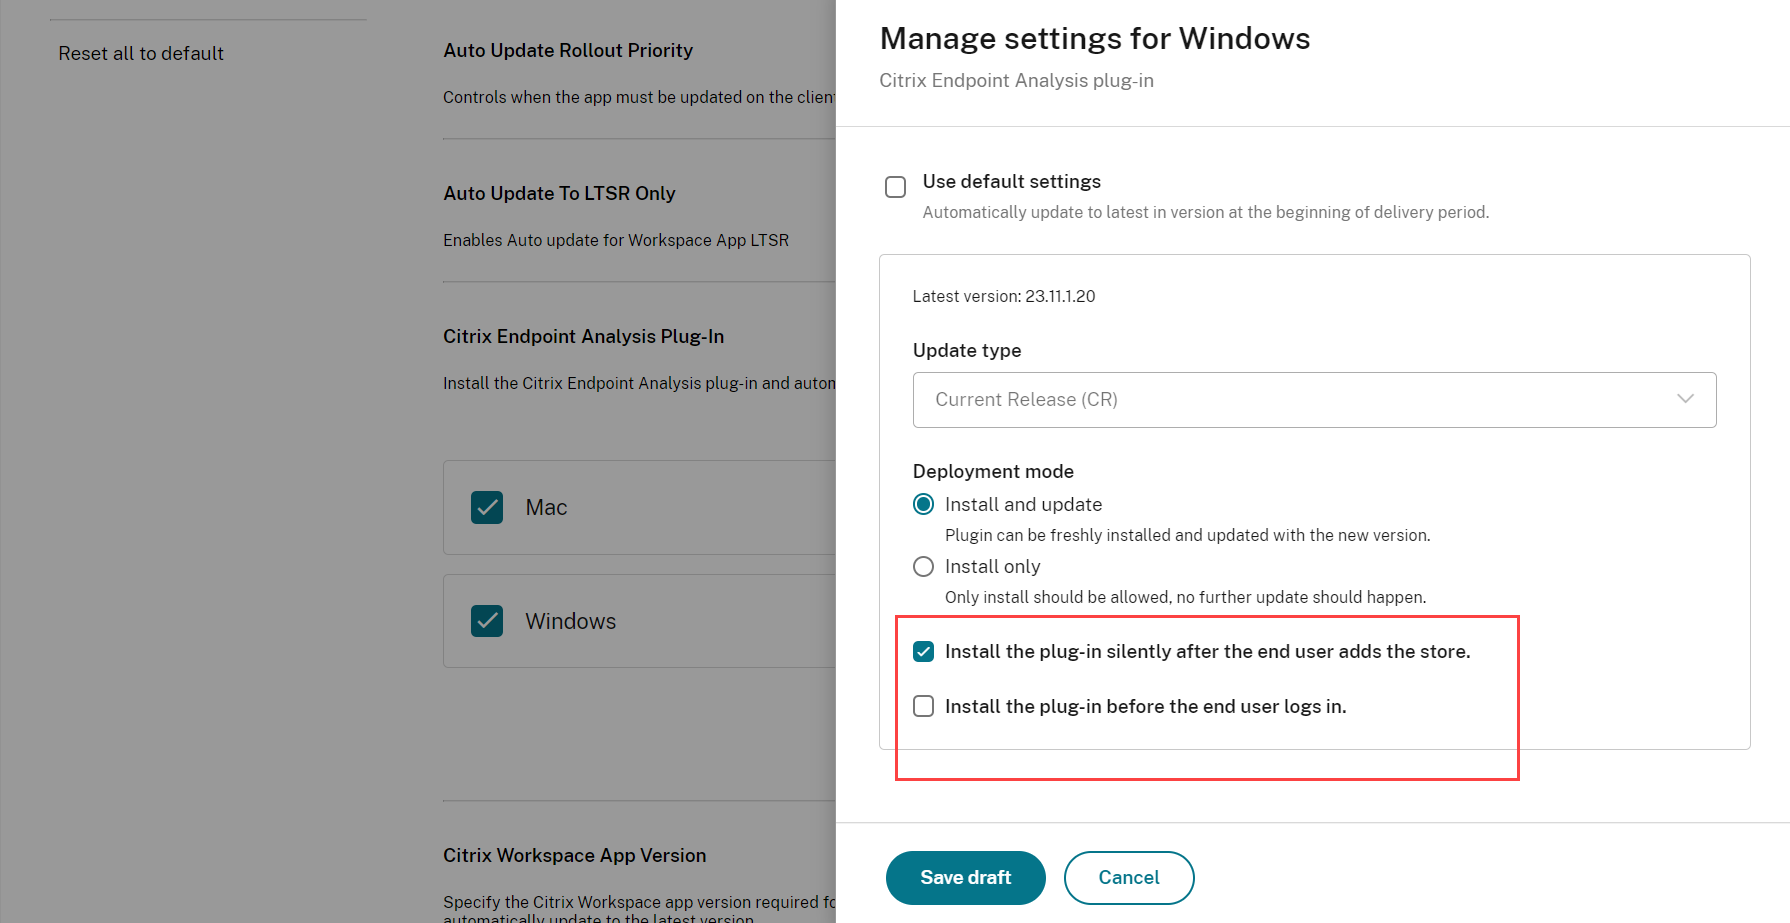
Sign in to your Citrix Cloud account and navigate to Workspace Configuration > App Configuration. From the list of configured URLs, select the one for which you want to map settings, and click Configure. Under the Updates and Plug-ins section, navigate to the desired plug-in and click the expand icon to view the applicable platforms. Select the platform that you want to configure the settings for and click Edit.
- Install and update: Installs the latest version of the plug-in on the end-user’s device. It automatically updates the plug-in to the latest version.
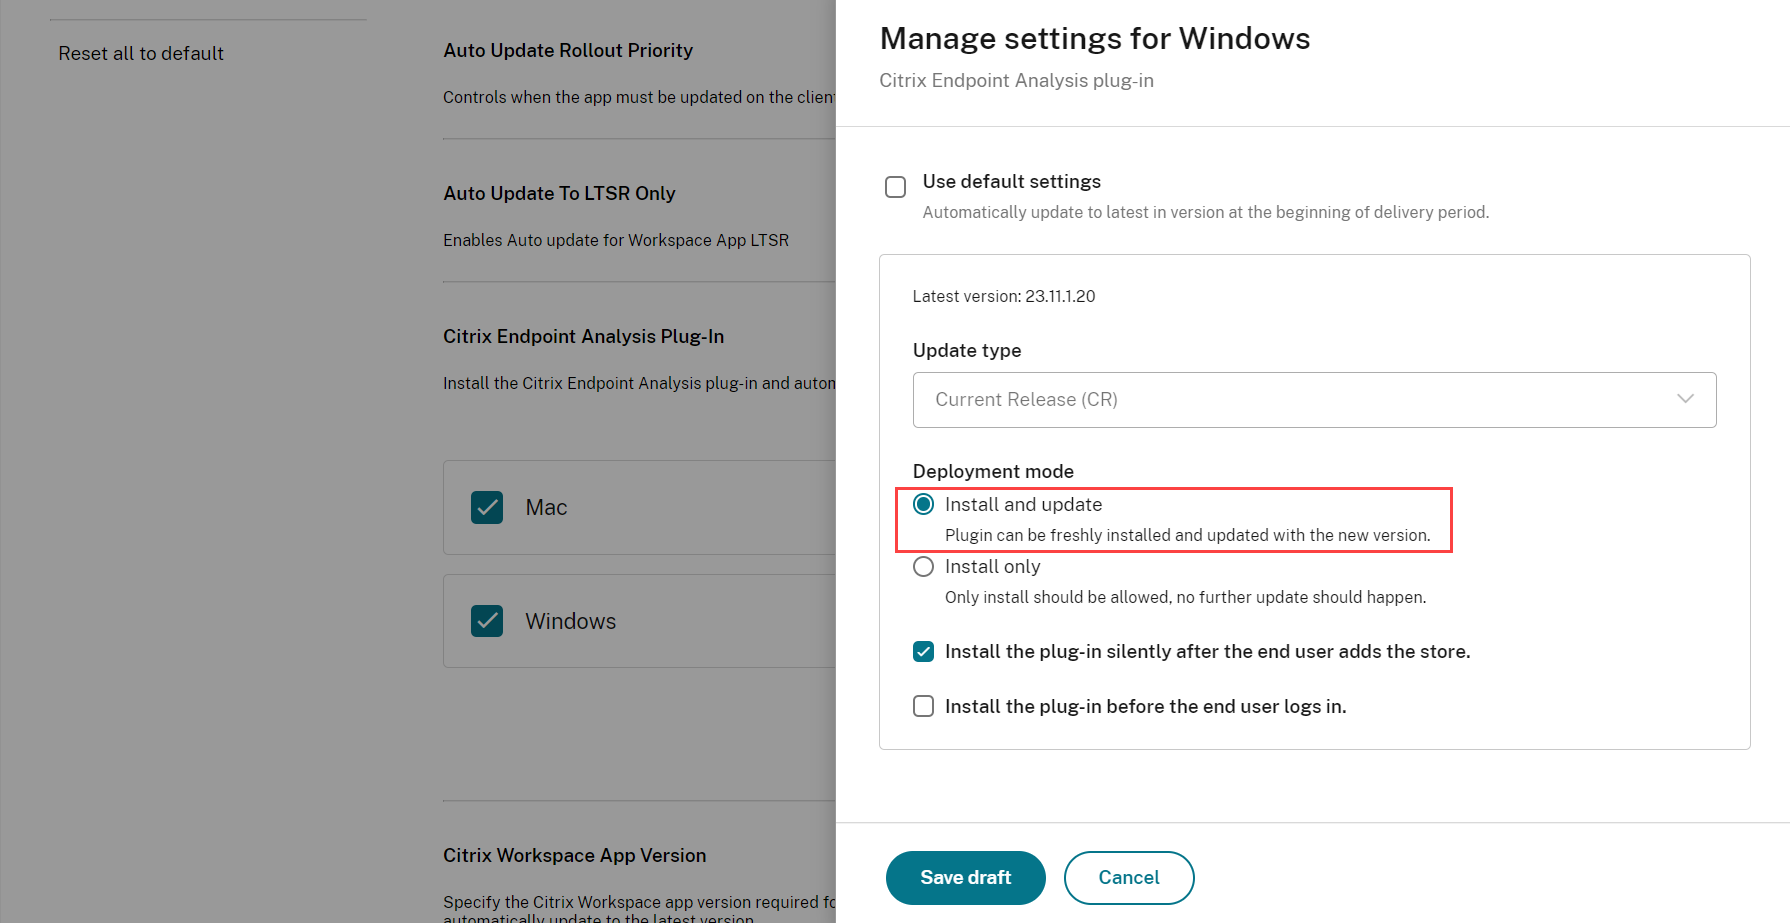
- Install only: Installs the latest version of the plug-in on the end-user’s device. It does not auto-update.

After you’ve selected the deployment mode, you must specify if the plug-in installation or update must require the end-user’s intervention. You can select one of the following options.
-
Install the plug-in silently after the end-user adds the store: The plug-in is installed or updated to the latest version after the end user has added the store. The installation is completed in the background and end users receive a notification once the installation or update is completed. They can sign in and access their stores as usual.
-
Install the plug-in before the end user logs in: The end user will be unable to sign in to their Citrix store until the installation is completed. Once the installation is completed, the end users receive a notification. End users are then redirected to authenticate and access the store. Upgrade occurs in regular auto update cycle.
Delay Group
- Fast: Update rollout happens at the beginning of the delivery period.
- Medium: Update rollout happens at the mid-delivery period.
- Slow: Update rollout happens at the end of the delivery period.