Tools and Utilities
The xdlcollect shell script
The xdlcollect shell script integrated into the VDA software installation process collects logs and is located under /opt/Citrix/VDA/bin.
Once you install the VDA, run the /opt/Citrix/VDA/bin/xdlcollect.sh script to collect logs.
When you run the xdlcollect.sh, the following information and logs are collected and packaged:
System Information:
- macOS Release Version
- Memory and CPU usage
- General Disk Information
- Loaded Kernel Extensions
- List of PCI and USB devices
- Running Processes
- Services
- System Messages (dmesg)
- System Logs
- Package Installation Logs
- Network Information:
- Host Name
- DNS Servers
Network interfaces:
- Routes
- Firewall Configuration
Additional Information:
- VDA Logs and related configuration
- Crash Dump
Some basic tests are performed to check connectivity to:
- DNS Severs
After log collection, a compressed log file is generated in the same folder as the script.
For additional options, run:
sudo xdlcollect.sh -h
This command displays more detailed information about usage.
The vdaversion script
The vdaversion script is integrated into the VDA software installation process and located under /opt/Citrix/VDA/bin.
After you install the VDA, run the ./vdaversion under the folder mentioned to check your VDA revision number to validate if you installed the latest or chosen version of VDA.
The ctxsession tool
The ctxsession tool is integrated into the VDA software installation process and located under /opt/Citrix/VDA/bin.
The ctxsession is a diagnostic tool that assists you to check your VDA and CWA session information.
Note:
You can run it either without any parameters or in a verbose mode.
For example ./ctxsession -v
The Citrix® support team uses the information to assist in troubleshooting.
The hdxmonitorlite tool
The hdxmonitorlite.sh tool is integrated into the VDA software installation process and located under: /opt/Citrix/VDA/bin
hdxmonitorlite tool is more like a CLI (Command Line Interface) version of HDX™ Monitor that was available in the Windows platform.
With this tool, the administrators can dump important information related to DDC policies configured for the VDA, as well as VDA session information related to network, system configuration etc.
Below are some examples of how to use the tool:
Show help information:
sudo /opt/Citrix/VDA/bin/hdxmonitorlite.sh --help
Show specific module information:
sudo /opt/Citrix/VDA/bin/hdxmonitorlite.sh [module-name] dump
Show all modules:
sudo /opt/Citrix/VDA/bin/hdxmonitorlite.sh list
Show all modules information:
sudo /opt/Citrix/VDA/bin/hdxmonitorlite.sh dump
ctxoptimizer
The Citrix Optimizer script (ctxoptimizer.scpt ) enhances Citrix VDA for macOS performance by fine-tuning macOS UI settings to reduce the impact of performance-intensive graphical features, such as animations and dynamic wallpapers.
The Animation Optimization will adjust the animation behavior of Launchpad and Window Minimizer to reduce its impact on Citrix VDA for macOS performance. You can restore the changes by running script: osascript /opt/Citrix/VDA/bin/ctxoptimizer.scpt -animation disable
Admins can also automate these settings with a script
Examples:
- To enable animation optimizations:
osascript /opt/Citrix/VDA/bin/ctxoptimizer.scpt -animation enable
- To disable animation optimizations
osascript /opt/Citrix/VDA/bin/ctxoptimizer.scpt -animation disable
- To change the desktop background:
osascript /opt/Citrix/VDA/bin/ctxoptimizer.scpt -wallpaper "/path/to/image.jpg"
- To enable all optimizations with a default background:
osascript /opt/Citrix/VDA/bin/ctxoptimizer.scpt -all enable
- To enable all optimizations with a specified background:
osascript /opt/Citrix/VDA/bin/ctxoptimizer.scpt -all enable -wallpaper "/path/to/image.jpg"
- To enable animation optimizations silently (ideal for automated environments):
osascript /opt/Citrix/VDA/bin/ctxoptimizer.scpt -animation enable -silent
Note:
This script adjusts settings specific to the current user’s profile. Do not to run this script with root privileges to avoid unintended system-wide changes.
XDPing
Description
The XDPing tool is a classic CLI tool which automates the process of checking for the causes of common configuration issues in Citrix VDA for macOS.
Depending on how the tool is run, the following checks and information can be displayed:
- The connectivity between the VDA machine and the DDC:
sudo -d https://www.ddc.com/ - Information extracted from the enroll token:
sudo xdping -e ~/Citrix VDA for macOS/enroll-token.txt - Information and status of the VDA machine:
sudo xdping
Prerequisites
- Python3 comes pre-installed with macOS.
- Xcode Command Line tools are installed
How to Use
After installing the VDA, you can run XDPing as follows:
-
Open the Terminal application.
-
Execute the command
sudo xdping -horsudo /usr/local/bin/xdping -hto view the manual page.
If this is the first time you run the XDPing command, it will first create a virtual Python environment in the /opt/bin/python3/ directory. Subsequently, XDPing will install the XDPing Python package along with its dependencies from the network.
VDA Configuration
Description
VDA Configuration is an application designed to configure your VDA.
After installing VDA, you can find VDA Configuration in the Launchpad of your VDA machine.
You can open it from Launchpad or by running the command vdaconfig in the Terminal.
It offers four main types of configuration:
- Basic Setup Before Using VDA
- Enable Webcam Redirection
- Select a Different Login Method
- Optimize VDA Performance
This document focuses primarily on the basic setup before using VDA. For information on other configurations, please refer to the relevant documentation.
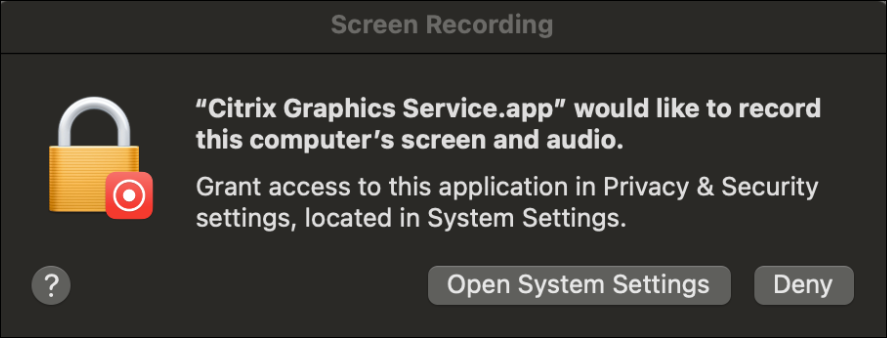
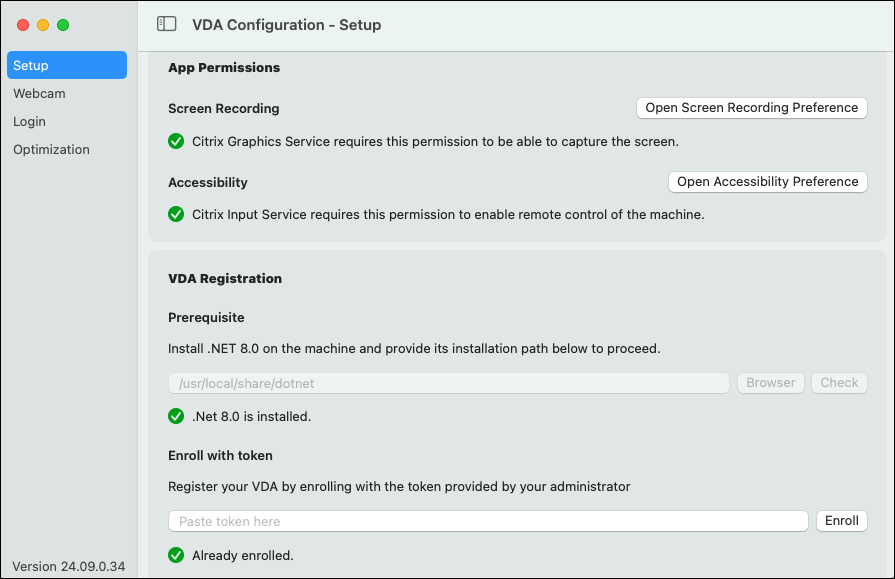
Grant Application Permissions
Before using VDA, you need to grant screen recording and accessibility privileges to it. For screen recording privilege, a window will automatically appear to request the privilege after installation.
You can also grant both privileges manually in VDA Configuration as follows
-
Click the ‘Open Screen Recording Preferences’ and ‘Open Accessibility Preferences’ buttons located on the right side of the app permissions panel.
-
After clicking the buttons, the System Settings window should open. Approve the requests within this window.
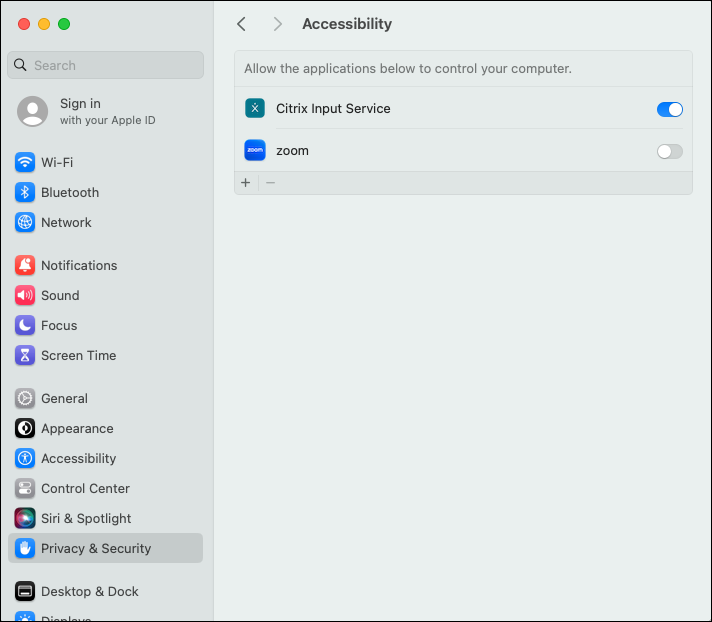
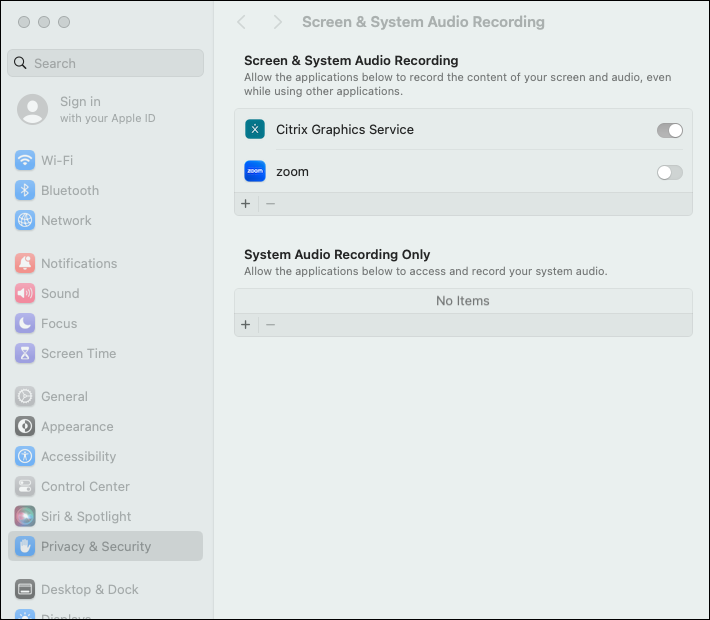
If you do not see the corresponding request, click the + button in the System Settings window and manually select the application located in the /Library/PrivilegedHelperTools/Citrix directory.
Power Management Options button
In release 2511, we have added a Power Management Options button to allow users to configure sleep prevention settings, preventing VDA devices from entering automatic sleep mode which would make session startup impossible.

Install .NET 8.0 Runtime
- Download and install .NET Runtime 8.0.
-
Verify the installation by checking its status in VDA Configuration.
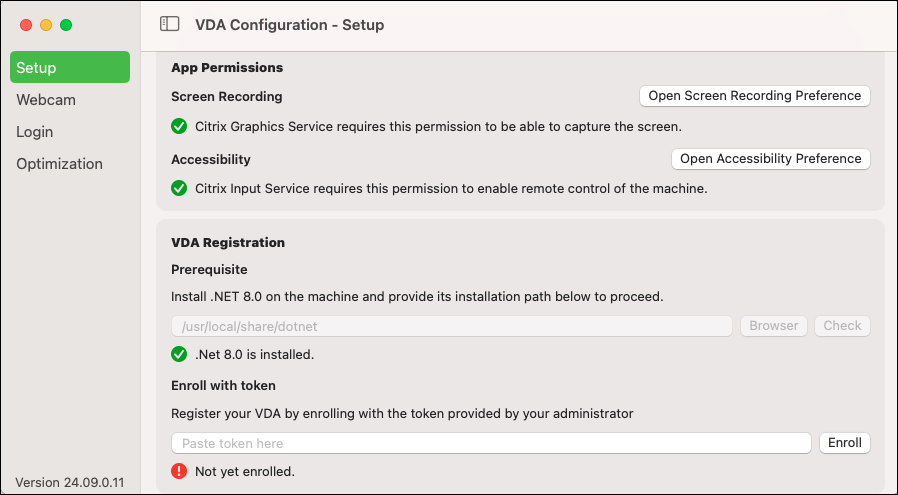
Enroll with token
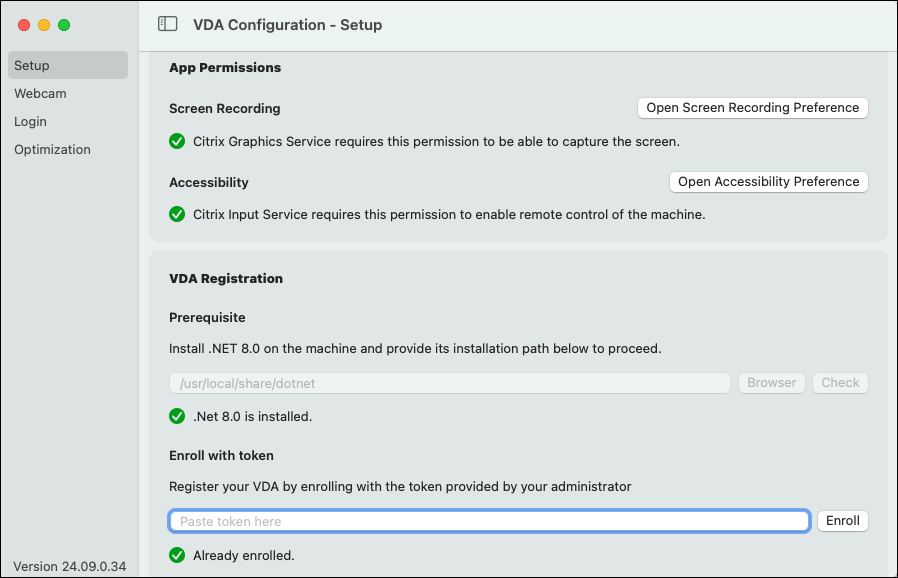
If you have not yet enrolled, enter your enrollment token in VDA Configuration and click the ‘Enroll’ button. This process may take a few moments.
If the enrollment is successful, you will see the following screen. You can now use your VDA.
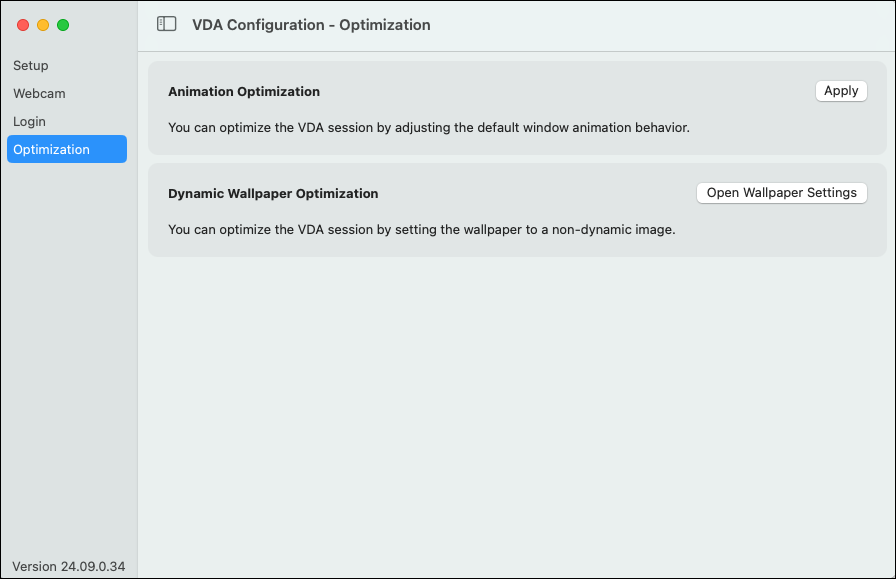
Optimization Page
In release 2511, we have:
-
modified the overall page styling.
-
added a reduce motion toggle button to improve session performance.

The ctxaudiosession tool
In this 2503 release, we introduced another powerful tool to help administrators diagnostic Audio virtual channel issues, please refer to Audio Diagnostic Tool.