Help desks - Request and manage
As a Citrix ITSM IT help desk, you can request and manage apps and desktops for end users.
Required roles
You must have one of the following Citrix ITSM roles:
- Help desk (
x_cion_citrix_it_s.ctx_itsm_helpdesk) - Operator (
x_cion_citrix_it_s.ctx_itsm_operator) - Administrator (
x_cion_citrix_it_s.ctx_itsm_admin)
Request applications for users
You can request applications for users in your organization.
-
Sign in to your ServiceNow Service Management Portal.
-
Go to Citrix IT Service Management Connector > Services > Citrix Virtual Apps and Desktops™.
-
Click Request applications. The Request applications page appears.

-
Select one or more users:
- Click the lock icon to unlock the field.
- In the blank space of the field, type a user name, and then click the target user. The user appears in the user list.
- To remove a user from the user list, click the delete icon.
- Click the lock icon to confirm the selection.
-
Select one or more applications in the same way as you select users.
-
Click Submit.
The request appears in the User Requests menu for approval. Requests for an application can be automatically approved if a Citrix ITSM administrator enables automatic approval for that application.
Reset sessions for users
You can reset a desktop or app session based on user requests or business needs.
-
Sign in to your ServiceNow Service Management Portal.
-
Go to Citrix IT Service Management Connector > Services > Citrix Virtual Apps and Desktops.
-
Click Reset a session.
-
Use the filters to target the sessions.
For example, after you select a user from the drop-down menu, all sessions of the user are listed. You can also select all users by setting the User field to All, and then set the other fields to filter sessions.
-
Select a session.
-
Click Submit.
The target session resets immediately and its current user is logged out of the session.
Power manage VDI desktops
You can power manage a VDI desktop in your deployment.
-
Sign in to your ServiceNow Service Management Portal.
-
Go to Citrix IT Service Management Connector > Services > Citrix Virtual Apps and Desktops.
-
Click Power manage VDI desktops.
-
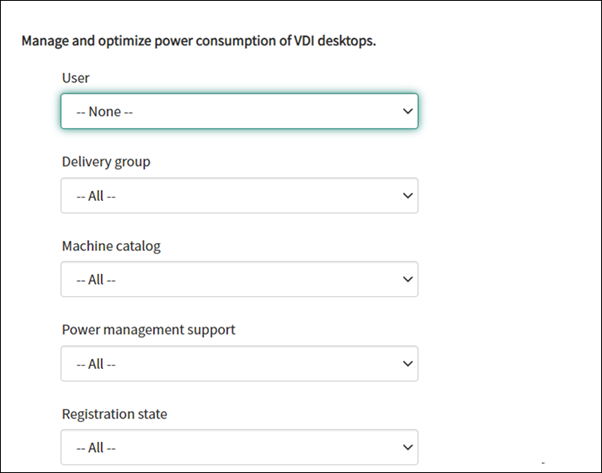
Set the filters to target the VDI desktops.

For example, after you select a user from the drop-down menu, all machines of the user are listed. You can also select all users by setting the User field to All, and then set the other fields to filter VDI desktops.
-
Select a target VDI desktop, and then select a power action to apply on the target VDI desktop.
-
Click Submit.
The selected power action is applied to the target desktop immediately.
Reset user profiles
Note:
This feature applies only to Citrix Profile Management deployments. For more information, see this Citrix DaaS article.
You can reset profiles for users in your organization.
-
Sign in to your ServiceNow Service Management Portal.
-
Go to Citrix IT Service Management Connector > Services > Citrix Virtual Apps and Desktops.
-
Click Reset user profiles.
-
In the Users field, click the lock icon to unlock the field.
-
Search for a user by the user name, and then click the Add icon to add the user to the Users list. If needed, repeat this step to add more users.
-
To delete a user from the Users list, select the user and click the delete icon.
-
Click the lock icon to confirm your selection.
-
Click Submit.
Request desktops for users
You can request desktops for users in your organization.
-
Sign in to your ServiceNow Service Management Portal.
-
Go to Citrix IT Service Management Connector > Services > Citrix Virtual Apps and Desktops.
-
Click Request a desktop. The Request a desktop page appears.
-
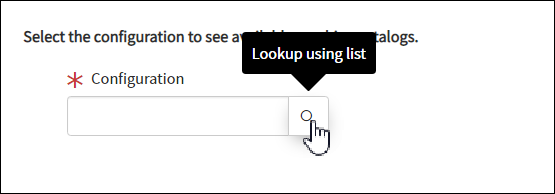
From the Configuration list, select a published desktop group as needed.

-
Click Submit.
The request appears in the User Requests menu for approval. Requests for a desktop can be automatically approved if a Citrix ITSM administrator enables automatic approval for that desktop.
Request MCS-created machines
If a machine catalog is short on machines, you can submit a request to provision MCS-created machines for this catalog.
Note:
This service item applies only to adding machines to machine catalogs created in Citrix DaaS.
-
Sign in to your ServiceNow Service Management Portal.
-
Go to Citrix IT Service Management Connector > Services > Citrix Virtual Apps and Desktops.
-
Click Add MCS-created machines.

- Select where you want to add the machines:
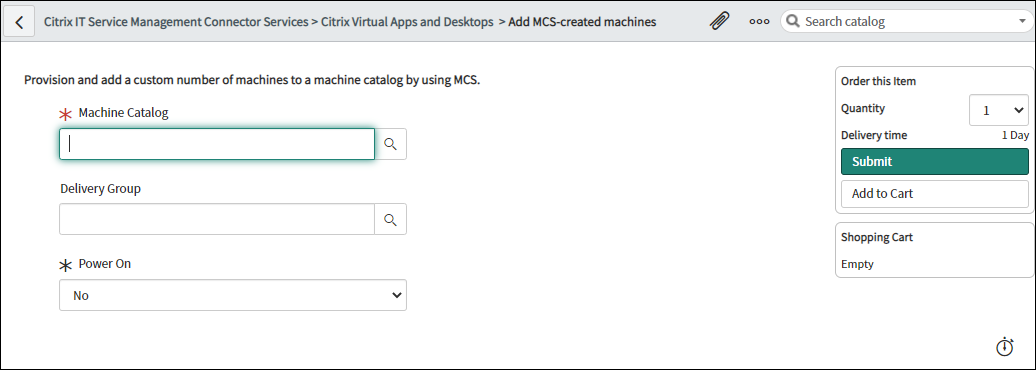
- In the Machine Catalog field, type the name of the machine catalog you want to add the machines to. Next, click the search icon to search and select it.
- (Optional) In the Delivery Group field, type the name of the delivery group you want to add the machines to. Next, click the search icon to search and select the group.
-
(Optional) From the Power On list, select the power status of the new machines. By default, the newly created machines are in a power-off state.
-
In the Quantity field, type the number of machines you want to add, and then click Submit.
The request appears in the User Requests menu for approval.
Request desktop scaling for users
As an IT help desk, you can request desktop scaling to adjust resources based on users’ workload needs.
-
Sign in to your ServiceNow Service Management Portal.
-
Go to Citrix IT Service Management Connector > Services > Citrix Virtual Apps and Desktops.
-
Click Scale Citrix Virtual Desktops™.

- Use one or more filters to locate the assigned desktops you want to scale:
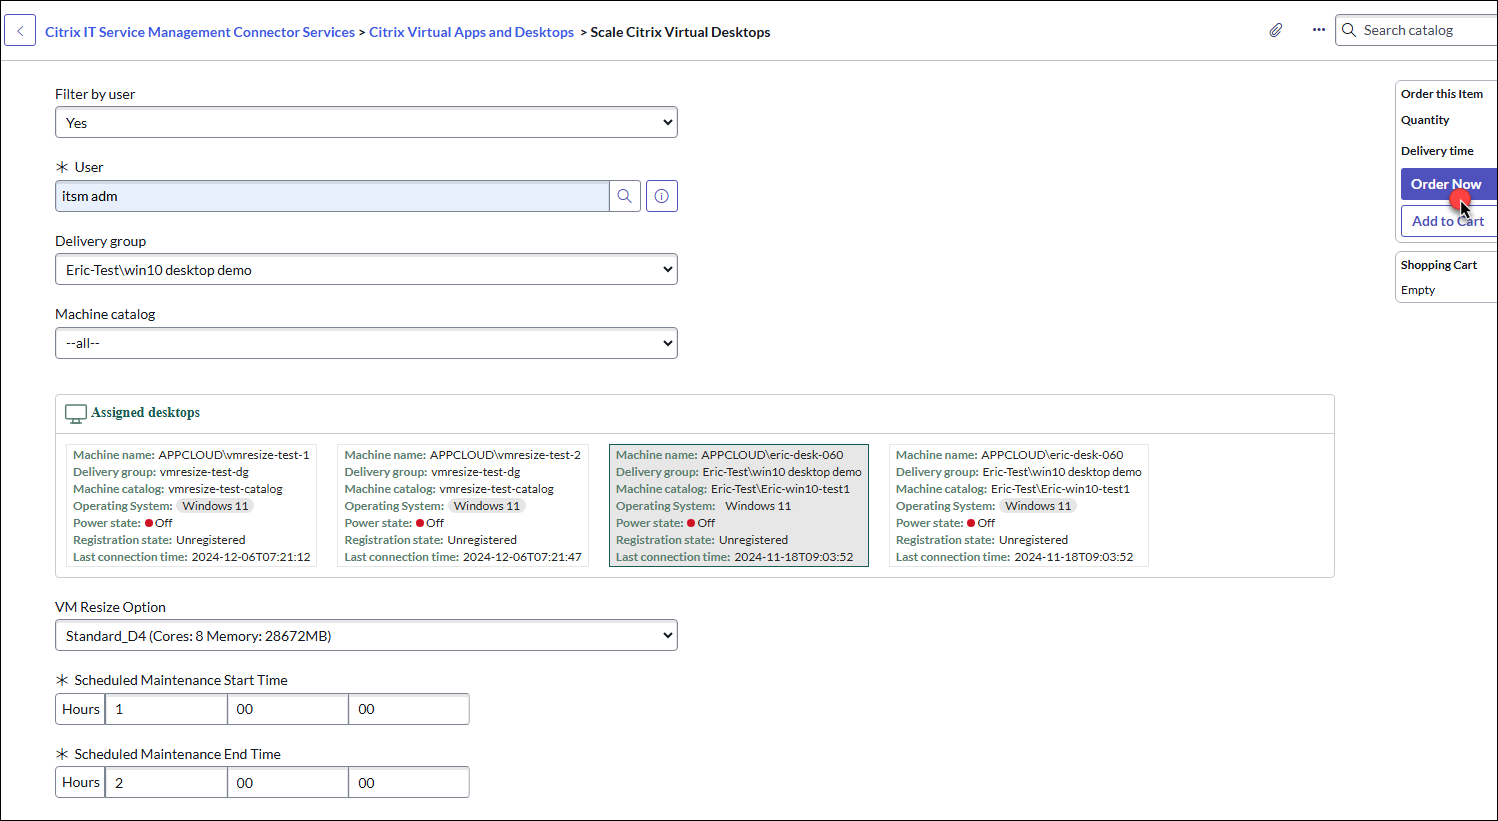
- User (optional): Select Yes for Filter by user, then click the Magnifier icon to select a user.
- Delivery group: Select a group from the drop-down list. All groups are selected by default.
- Machine catalog: Select a catalog from the drop-down list. All catalogs are selected by default.
-
In the filtered list of assigned desktops, select the desktop to scale.
Note:
If the machine catalog isn’t enabled for VM resizing enabled, an error message prompts you to contact ITSM service administrators.
-
From the VM Resize Option drop-down list, select the desired size.
-
Specify the start and end times for a scheduled resizing.
-
Click Order now at the top-right corner.
The request appears in the User Requests menu for approval.
Note:
Desktop scaling occurs at the scheduled time period after a resource manager approves your request.