Manage and monitor remote isolated browsers
You can manage policies and other configurations of the published browsers, and also monitor active user sessions in Remote Browser Isolation.
Manage
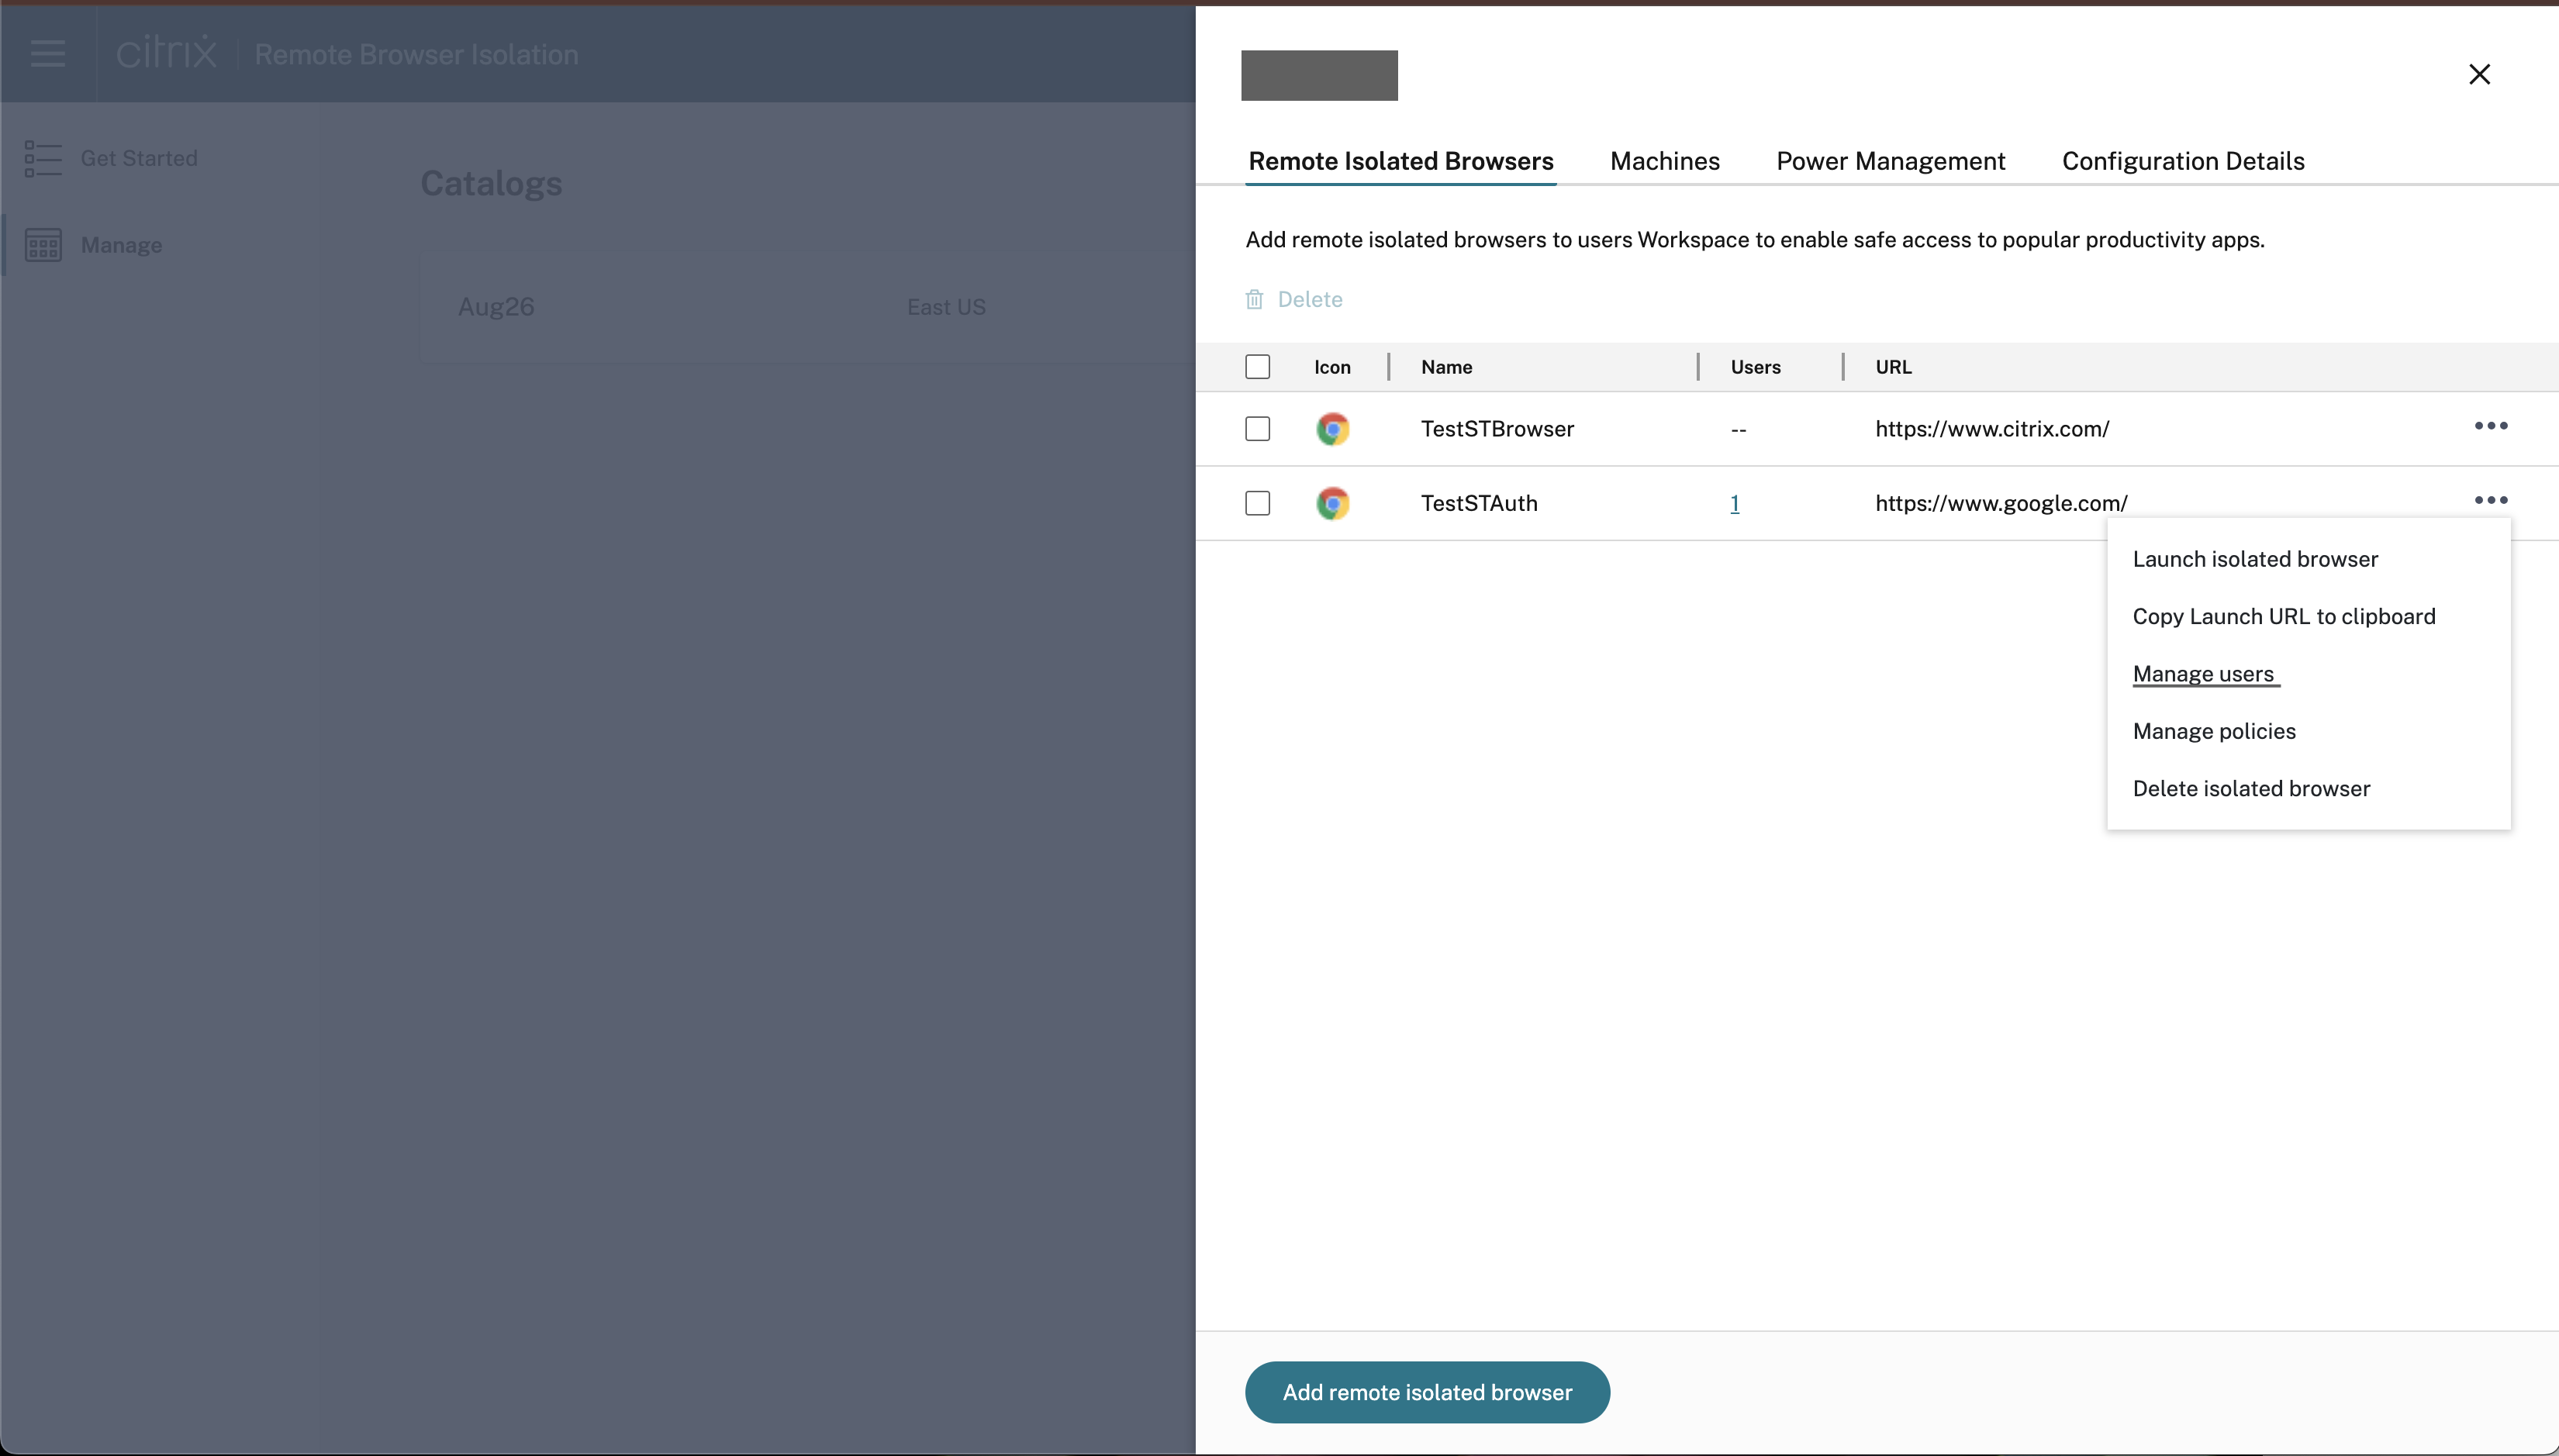
The Manage tab lists the existing Remote Browser Isolation (RBI) catalogs. You can select an existing catalog to update the configurations of the published browsers. Click ellipsis at the right‑end of the published browser, and then select the required task.
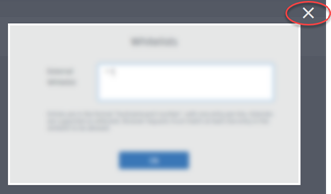
If you select a menu entry, and then decide not to change anything, cancel the selection by clicking the X outside the dialog box.
You can manage the published isolated browser using the following tasks:
-
Launch published browser: Opens the published browser session. After publishing the browser, you can select this task to verify the launch of the published browser session.
-
Copy URL to clipboard: Copies the URL of the published browser. You can share this URL with end users to access the published browsers.
-
Policies: You can set policies for the published browsers.
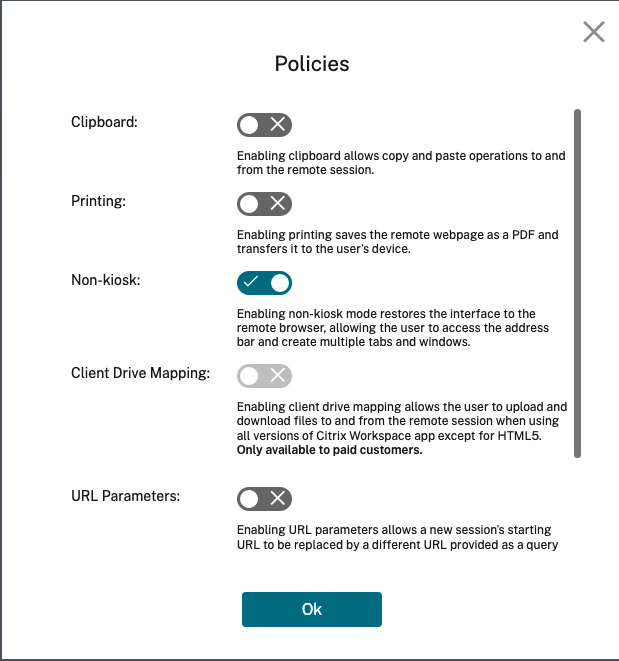
Settings on the policies page control the following:
- Clipboard: Enabling the Clipboard policy allows copy and paste operations to and from the remote session. (Disabling the Clipboard policy removes the Clipboard button from the Citrix Workspace™ app toolbar.) By default, this setting is disabled.
- Printing: Enabling printing saves the remote webpage as a PDF and transfers it to the user’s device. The user can then press Ctrl-P and select the Citrix PDF printer. By default, this setting is disabled.
- Non-kiosk: Enabling non-kiosk mode restores the interface to the remote browser. The user can then access the address bar and create multiple tabs and windows. (Disabling non-kiosk mode removes the remote browser’s navigation controls and address bar.) By default, this setting is enabled (non-kiosk mode is on).
- Region failover: The Region failover policy automatically transfers your published browser to a different region if your current region is reporting an issue. To opt out, disable the Region failover policy. If you published the browser using the Auto region selection, your isolated browser remains enrolled in the policy. By default, this setting is enabled.
-
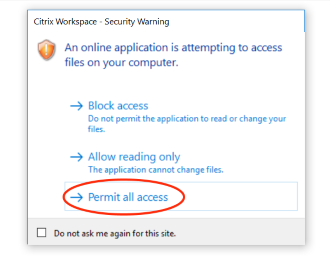
Client drive mapping: Enabling the Client drive mapping policy allows the user to upload and download files to and from the remote session. This feature is available only for sessions launched with the Citrix Workspace app. By default, this setting is disabled.
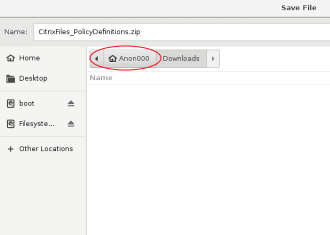
- Users must save downloaded files only on the
ctxmntdisk in theAnonxxxdirectory. To do that, users must navigate to the desired location for storing the file. For example, Anonxxx > ctxmnt > C > Users > User Name > Documents.
- The dialog box might prompt the user to accept the Permit all access or Read and Write permissions to access the
ctxmntfolder.
- Users must save downloaded files only on the
- URL parameters: Enabling URL parameters allows you to change a new session’s starting URL when users launch an app. For this policy to take effect, configure a local proxy server to identify suspicious websites and redirect them to Remote Browser Isolation. By default, this setting is disabled. For more information, see Proof of Concept Guide: URL Redirection to Remote Browser Isolation with Citrix ADC in Azure.
- Hostname tracking: Use host name tracking to enable Remote Browser Isolation to log host names during a user’s session. This policy is disabled by default. This information is shared with Citrix Analytics. For more information, see Citrix Analytics.
When you’re done, click OK.
-
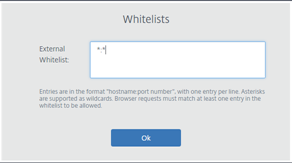
URL Allow lists: Use the Whitelists task to restrict users to visiting only allowed URLs within their published Remote Browser Isolation session. This feature is available for external authenticated web apps.
Enter allow list entries in the form
hostname:port number. Specify each entry on a new line. Asterisks are supported as wildcards. Browser requests must match at least one entry in the allow list.For example, to set
https://example.comas an allowed URL:-
example.com:*allows connection to this URL from any port. -
example.com:80allows connection to this URL only from port 80. -
*:*allows access to this URL from any port and from any links to other URLs and ports. The*.*format allows access to all external web apps from the published app. This format is the default setting for the web apps External Whitelist field.
When you’re done, click OK.
Advanced web filtering capabilities are available through integration with the Access Control service. Learn more at Use case: Selective access to apps.
-
Monitor
The Monitor tab provides information about users’ real-time sessions. You can monitor and disconnect one or several active sessions.
To stop a single session, select the session and click the ellipsis menu at the end of an entry’s row. Click Log off session and confirm your changes.
To disconnect multiple sessions, select the active sessions in the list and click the Log off button on the top of the page. After you confirm your changes, Remote Browser Isolation immediately disconnects all selected sessions.